Saving processed data in UFS Explorer for fast selective drive imaging
In certain data recovery scenarios, imaging an entire storage medium may be unnecessary or even highly inefficient. Creating a full image of a slow large-capacity drive takes a considerable amount of time and storage space, even when only a small portion of the data is actually needed, such as file system structures or individual files. At the same time, the data is often scattered across the device, making it unreasonable to capture just a specific range of sectors. Despite that, the possibility to save "targeted" disk images remains uncommon for imaging solutions, as most of them operate at a raw sector level and lack file system awareness.
UFS Explorer of the Professional and Technician editions addresses this issue by enabling users to create a precise snapshot of the data requested during the given "data access" session, rather than performing time-consuming comprehensive cloning. This approach allows imaging only the relevant parts of the storage, which is especially useful when the data is not stored contiguously on the device.
The functionality is provided through the "Save processed data" mode available in the disk imaging task configuration dialog.
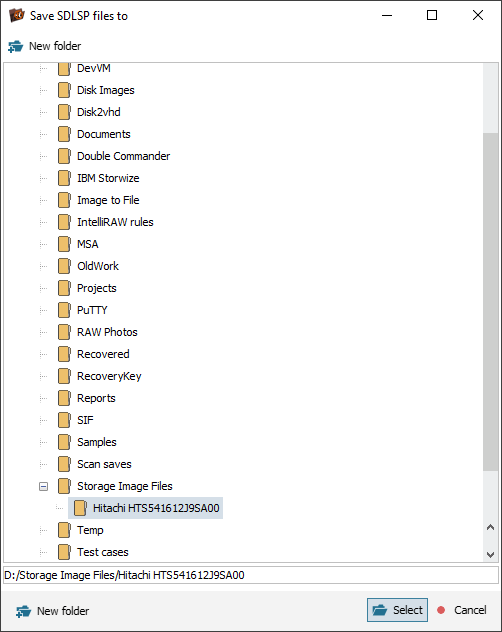
In this mode, the software reads each block from the source drive only once and writes it directly to a sparse image file in the *.SDLSP format. After that, this block can be accessed from the sparse disk image, without the need to re-read the source drive.
The created snapshot can be loaded into the program later, allowing the user to resume the previous session and save newly accessed data to the same file.
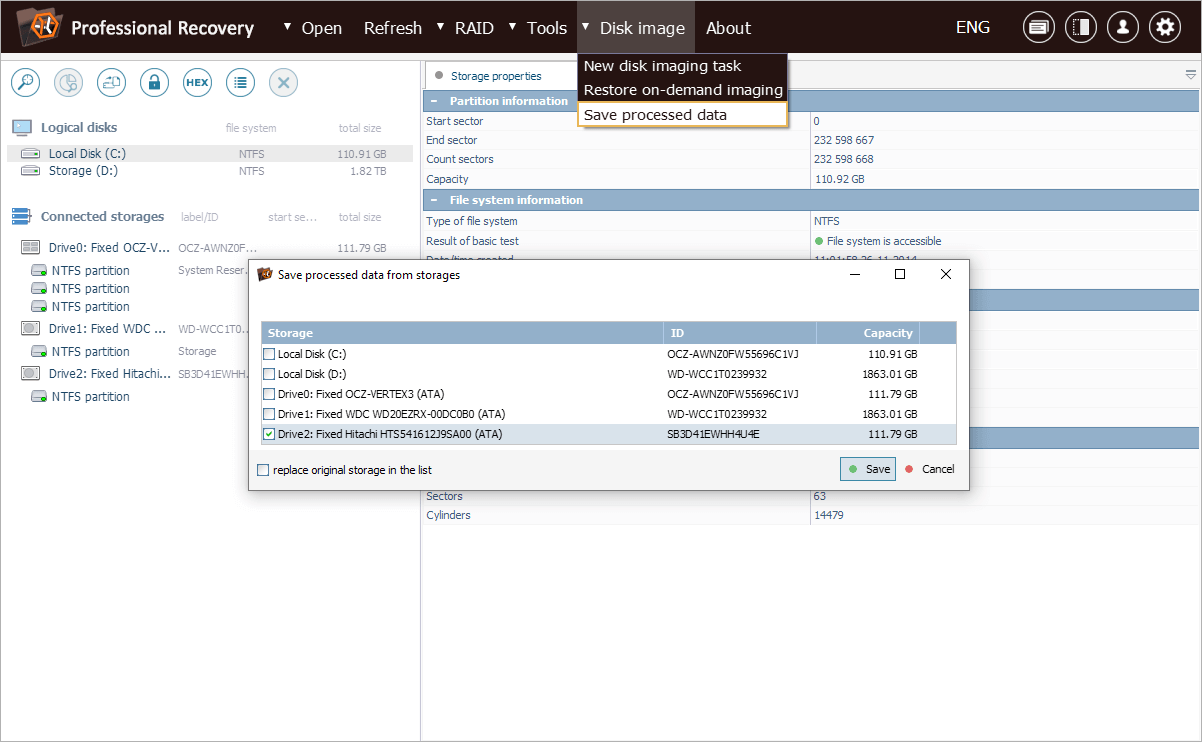
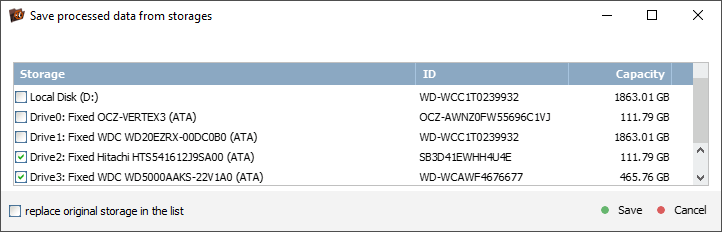
In addition, a dedicated "Save processed data" tool available in the "Disk image" menu allows configuring targeted imaging from several sources at once, eliminating the need to open each device individually.
Now let’s see how this works in practice with the following example. We are dealing with a large SATA hard drive connected to our computer via an external USB-to-SATA adapter. Although the drive itself is in a good condition, the USB interface substantially limits its data transfer speeds. We need to retrieve a set of important files from this drive, but, as far as we know, those files are scattered across different locations. Standard imaging process would take many hours due to the USB speed limitation. Therefore, to avoid wasting time and resources, our technician decides to image only the required files.
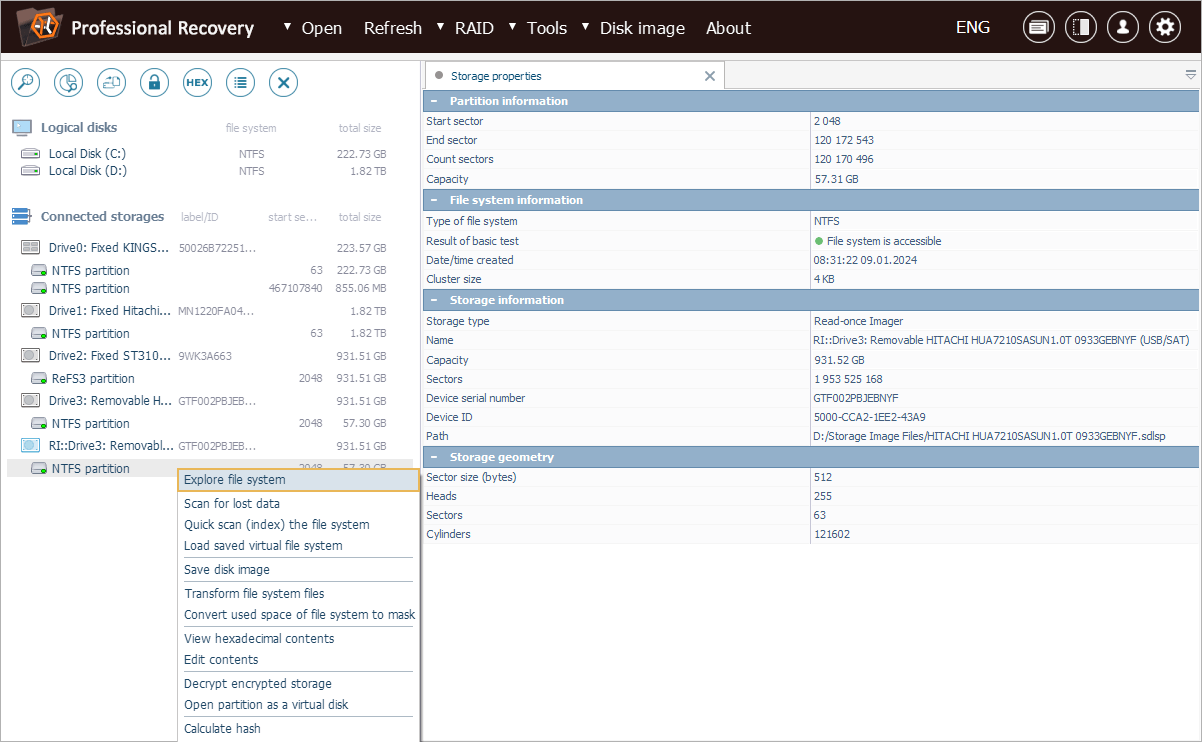
In order to get started, we launch a new disk imaging task for this drive by choosing "Save disk image" from its context menu.

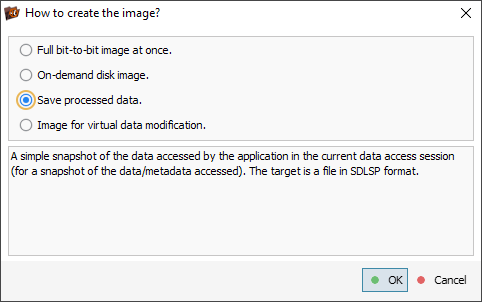
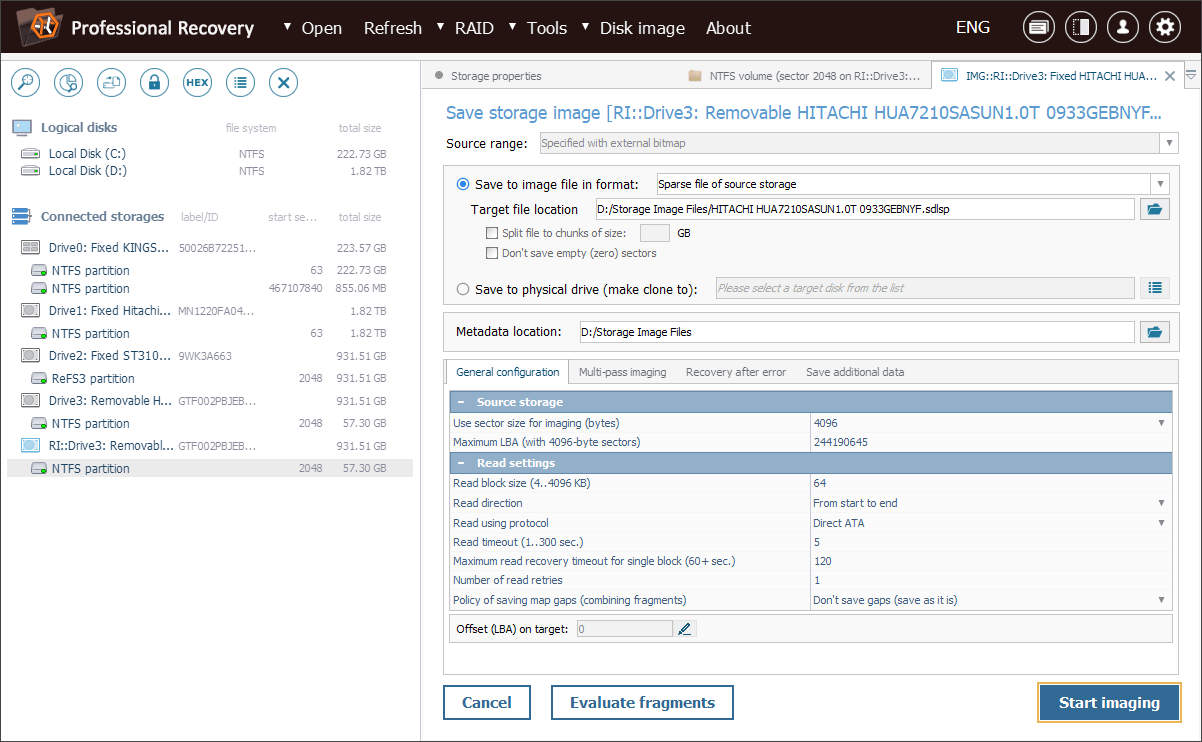
In the task configuration dialog, we select the "Save processed data" imaging mode. This mode will allow us to quickly capture a snapshot of the requested data, without focusing on the control over defects.
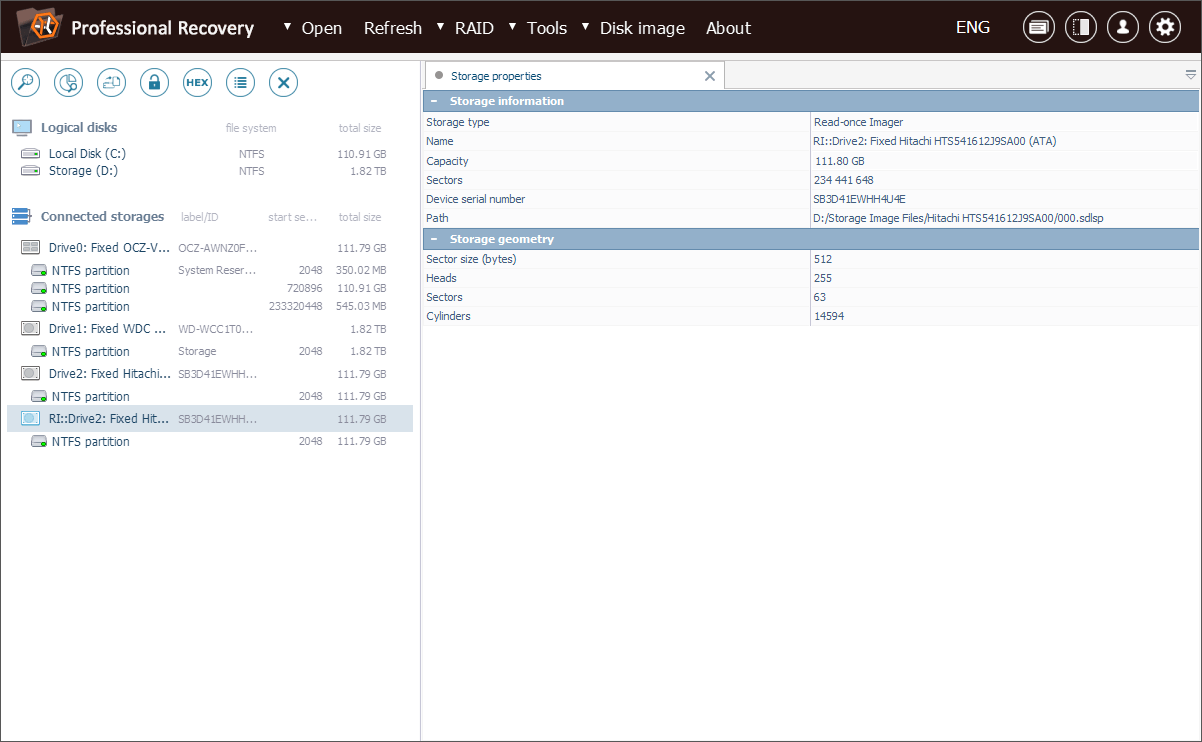
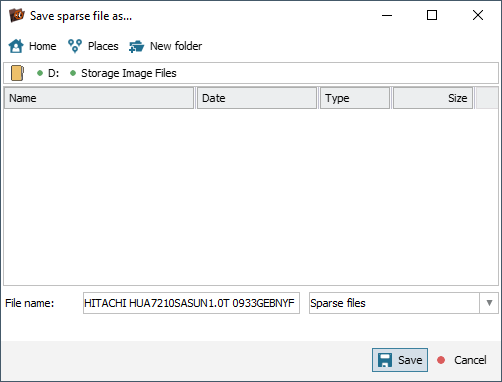
In the course of imaging, the software will create a sparse disk image file in the *.SDLSP format. The "read status" information will already be integrated into the image file, so, there’s no need for a separate map.
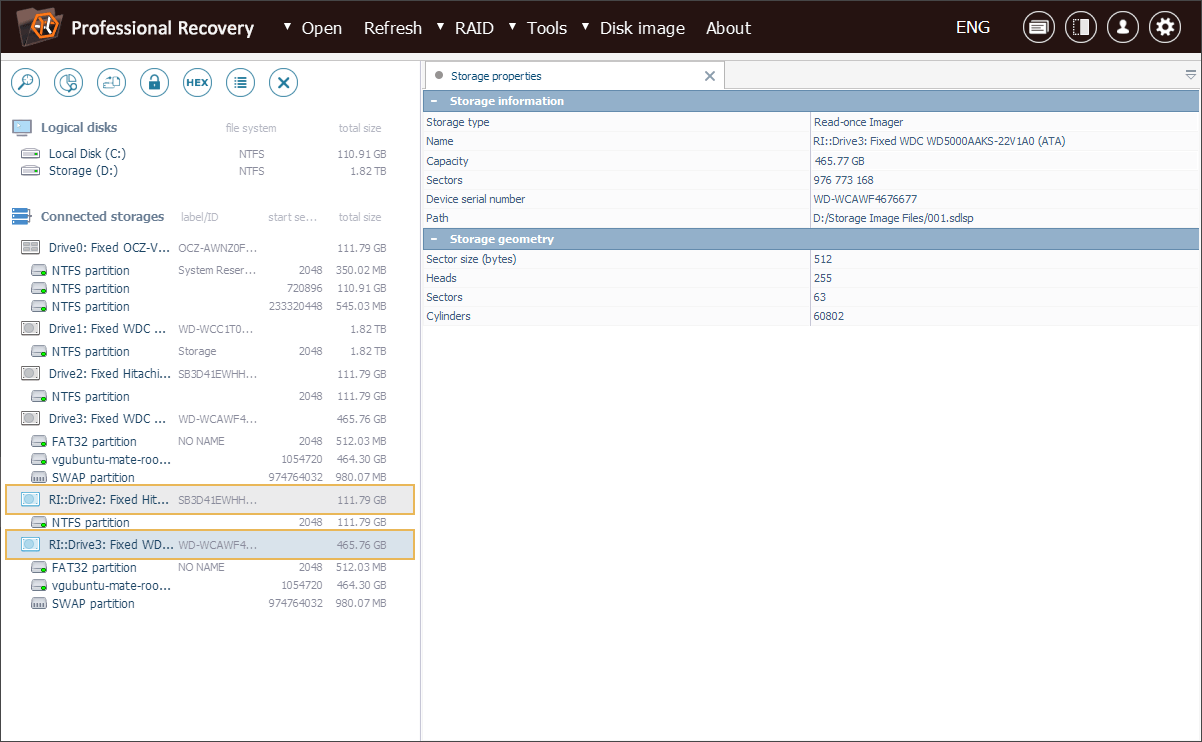
Once we’ve launched the task, a new "Storage imager task" element shows up in the storages navigation pane. This virtual storage represents the original drive and has to be used for all further operations.

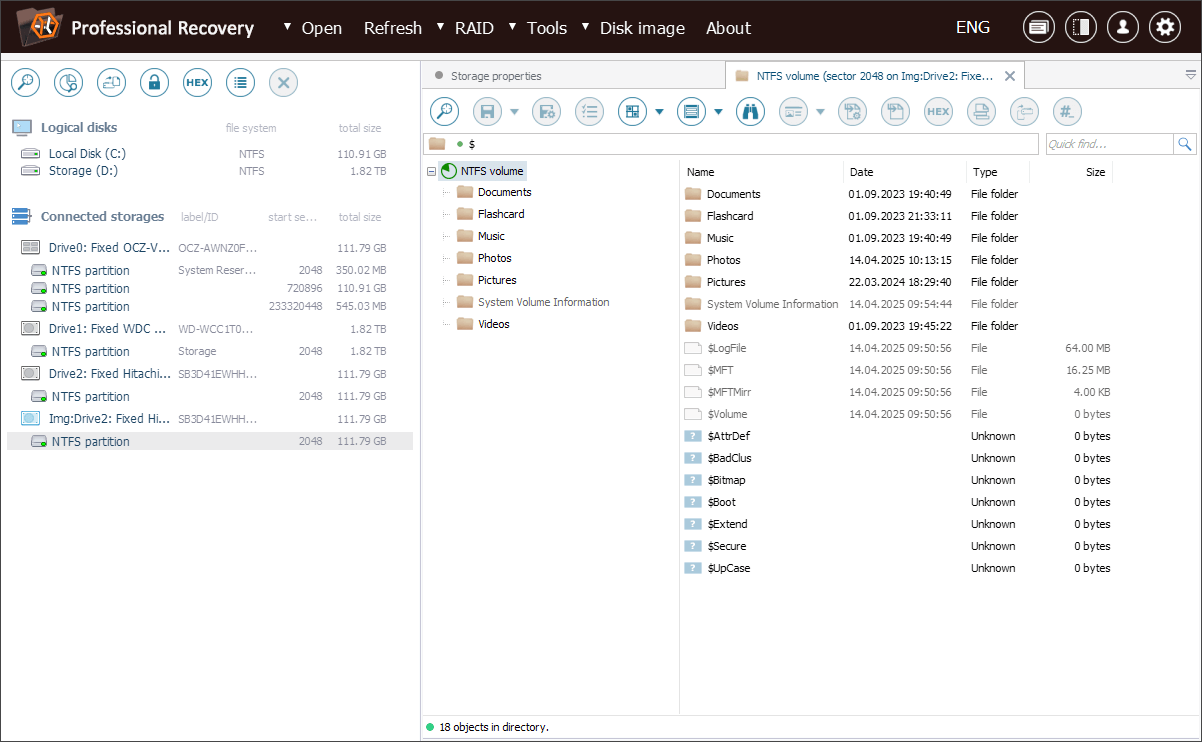
As a next step, we need to access the partition that holds the required files. We locate this partition under the "Storage imager task" element, right-click it and choose the "Explore file system" option to browse its content.
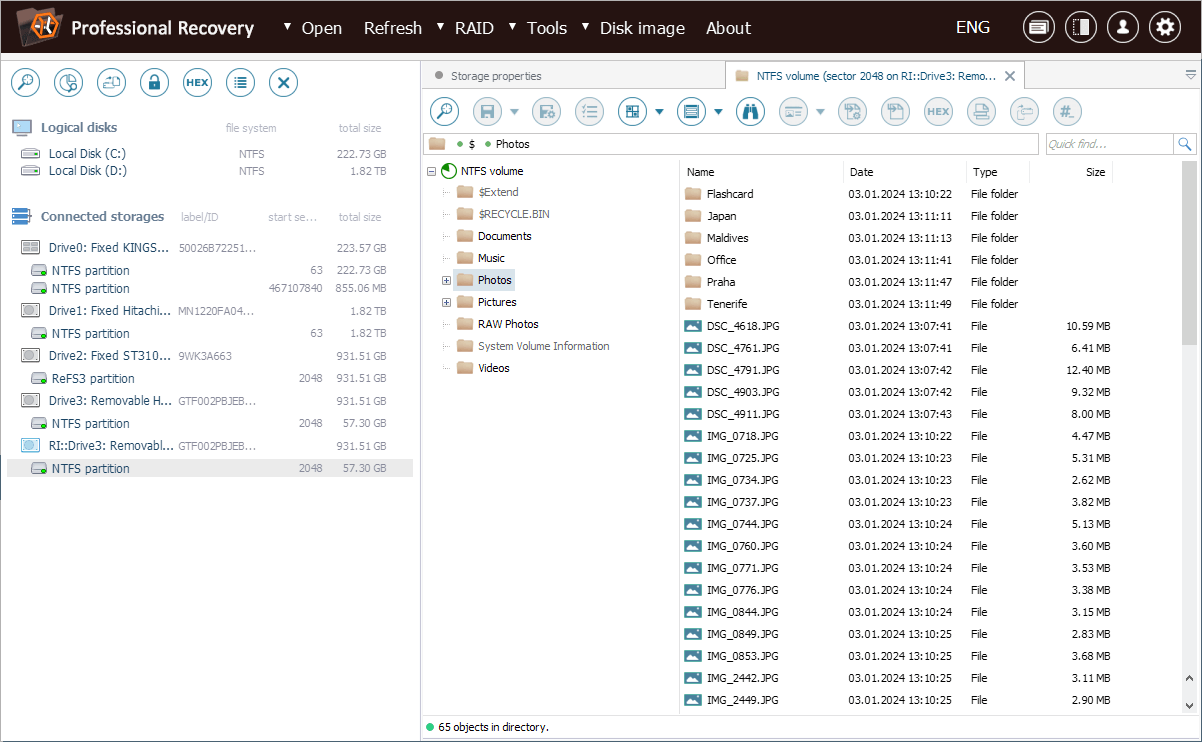
As we navigate through the file system in Explorer (file browser), the software reads the relevant metadata and saves the processed blocks into the .SDLSP sparse image file. However, since we intend to capture actual file contents, we have to perform several additional steps.
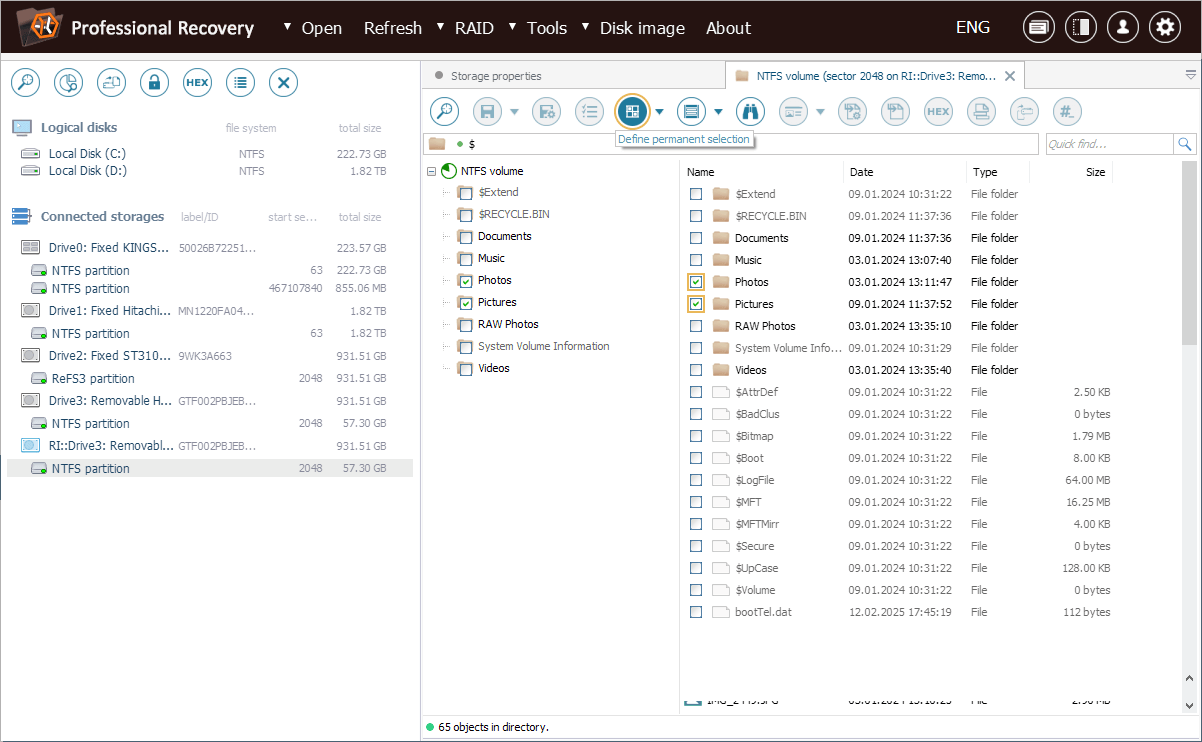
We enable the "Define permanent selection" tool in the Explorer toolbar and then check the boxes next to the files and directories we want to image.
When the selection is ready, we find the "Enable indication of used clusters" tool and choose the "Save image of space used by selected files" option from its context menu.
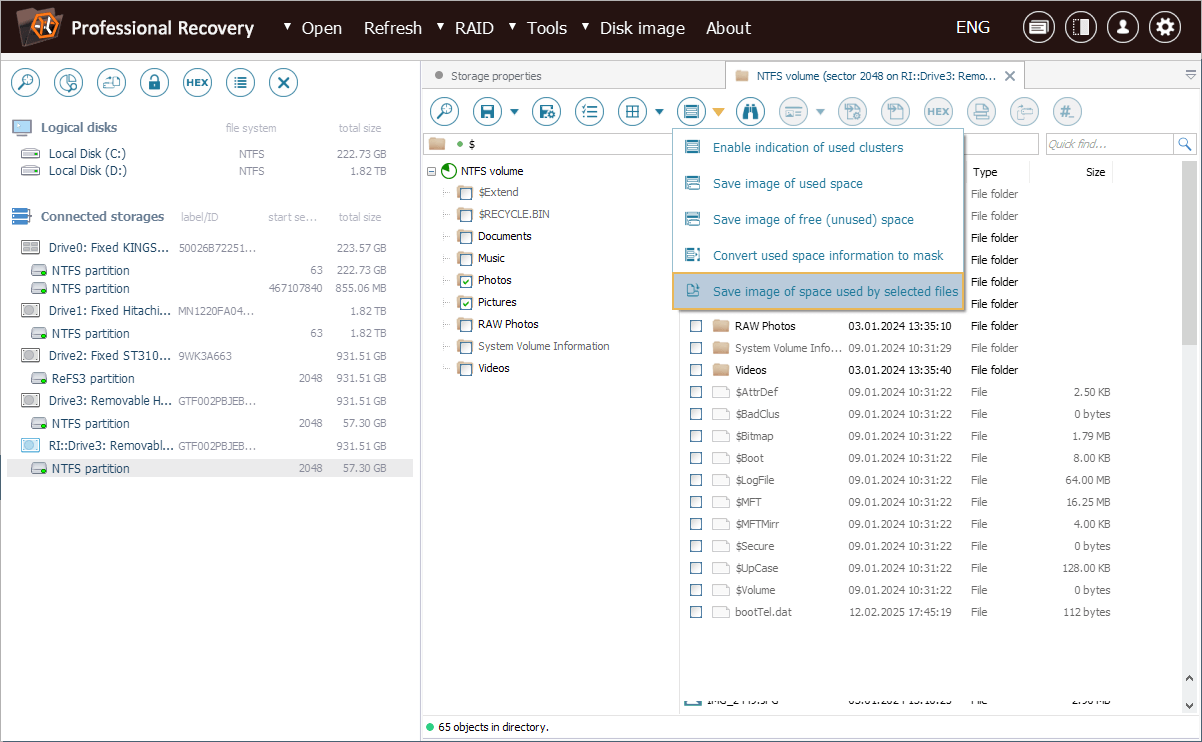
The software will produce a disk image based on an internally constructed map of files locations. An imaging configuration tab opens with simplified settings, as this mode doesn’t support advanced control over defective sectors. However, we can define how to handle gaps, such as to skip all of them or allow only those below a certain size. We may also fine-tune other read parameters (covered in How to create a disk image).

With everything set, we press the "Start imaging" button to begin the process.
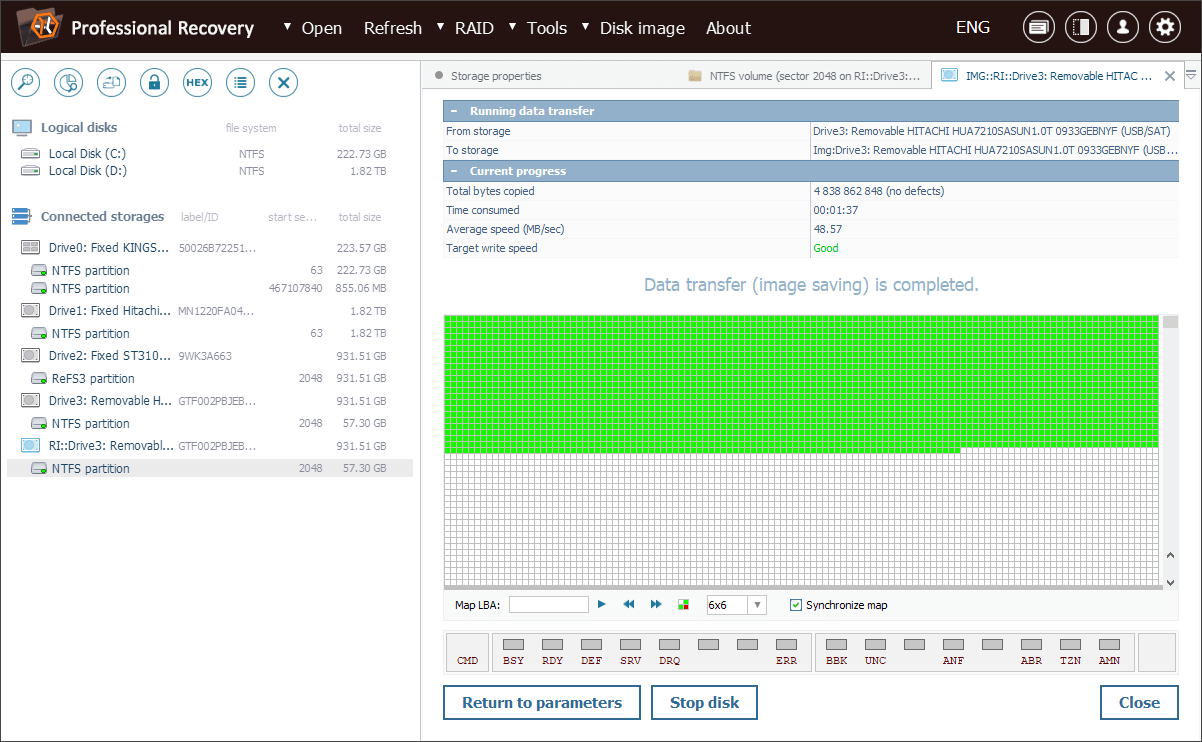
Once it is completed, the software displays the imaging statistics: the amount of copied data, time spent and average speed. In our case, the image was created in just 2 minutes.
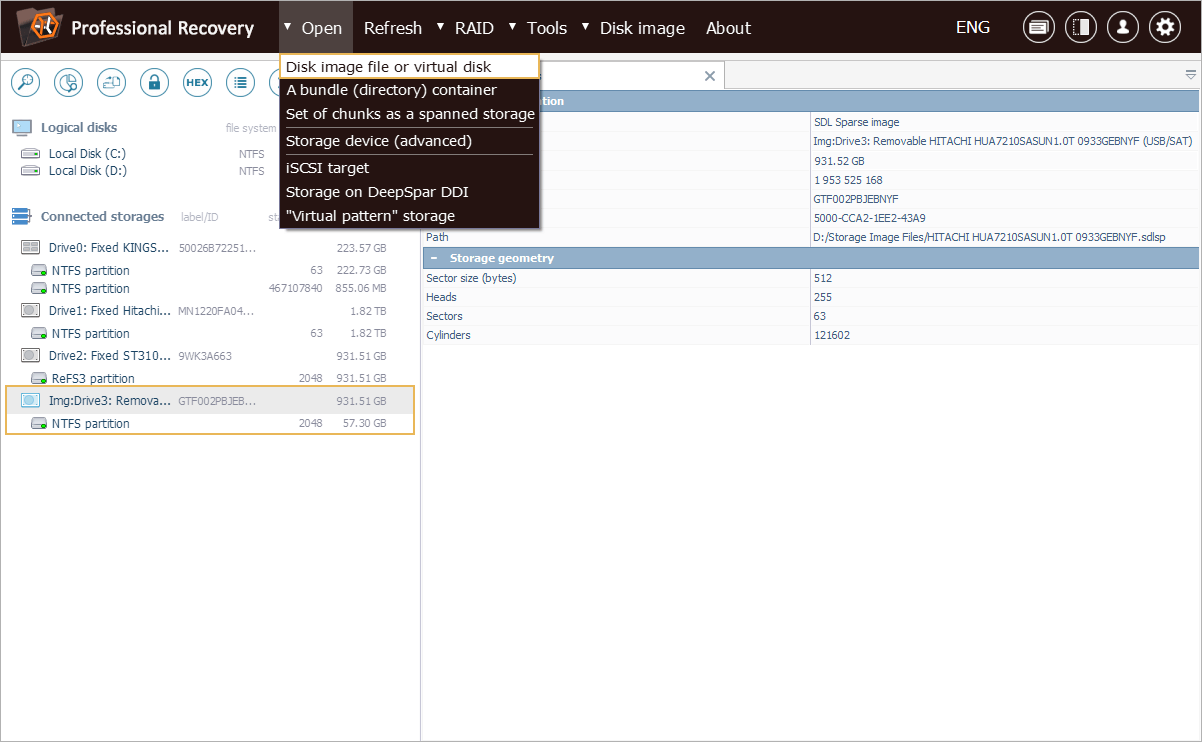
To work with the obtained image, we go to the "Open" menu and select "Disk image file or virtual disk". The loaded file appears in the storage navigation pane and can be accessed just like a regular storage device.
Last update: April 16, 2025