Creating a map of data entropy during drive imaging in UFS Explorer
Data entropy mapping is a valuable mathematical technique that is occasionally used in data recovery and digital forensics fields. It allows specialists to quickly assess the integrity and structure of the imaged data, for example, identify corrupted, encrypted, compressed or wiped regions based on their entropy characteristics. When utilized alongside a defects map, the information about entropy distribution also helps to determine the impact of defective sectors on data-containing areas and adapt the recovery process accordingly.
Although beneficial for experts, the entropy mapping feature is rare in data recovery solutions. Users may need to export an image file and employ additional tools capable of calculating entropy and visualizing its variation across a storage device. UFS Explorer of the Professional and Technician editions overcomes this limitation by generating a visual map of data entropy during drive imaging. This allows users to monitor entropy patterns in real time throughout the imaging procedure, save the resulting map for further analysis or compare it with a blocks state map for a better understanding of the data condition.
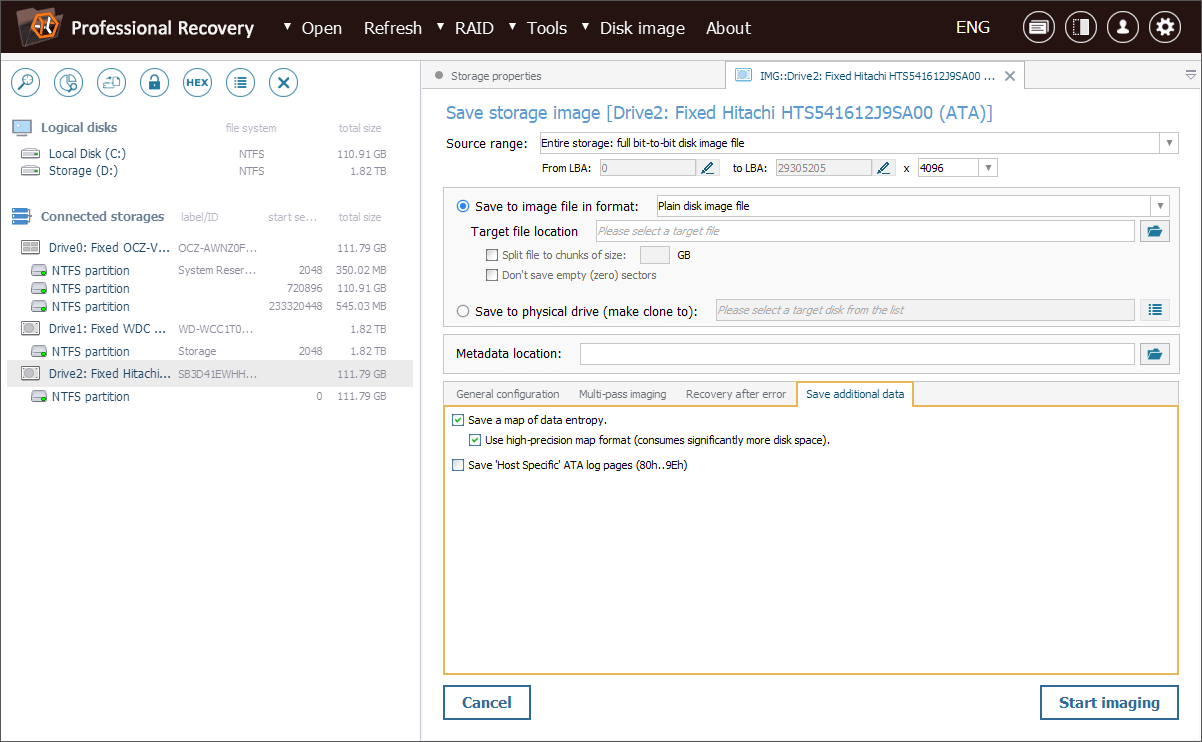
The feature is available in the software via the "Save a map of data entropy" option, found in the "Save additional data" tab at the bottom of the Disk Imager dialog.
Here's one possible scenario that illustrates how this feature works. Our technician is tasked to recover files from a partially overwritten SSD. The customer has accidentally launched a quick format on this drive, which, as expected, activated the TRIM command. However, the SSD was promptly disconnected from the system. In view of this, there may be a chance that TRIM couldn’t process all blocks and the remaining ones still contain recoverable data.
Before connecting this SSD to the computer, we need to ensure that the storage won't receive further TRIM commands that would destroy the remaining data. For this, we can use a write blocker or simply disable TRIM directly in the OS. After that, we can go ahead and create its disk image using UFS Explorer.
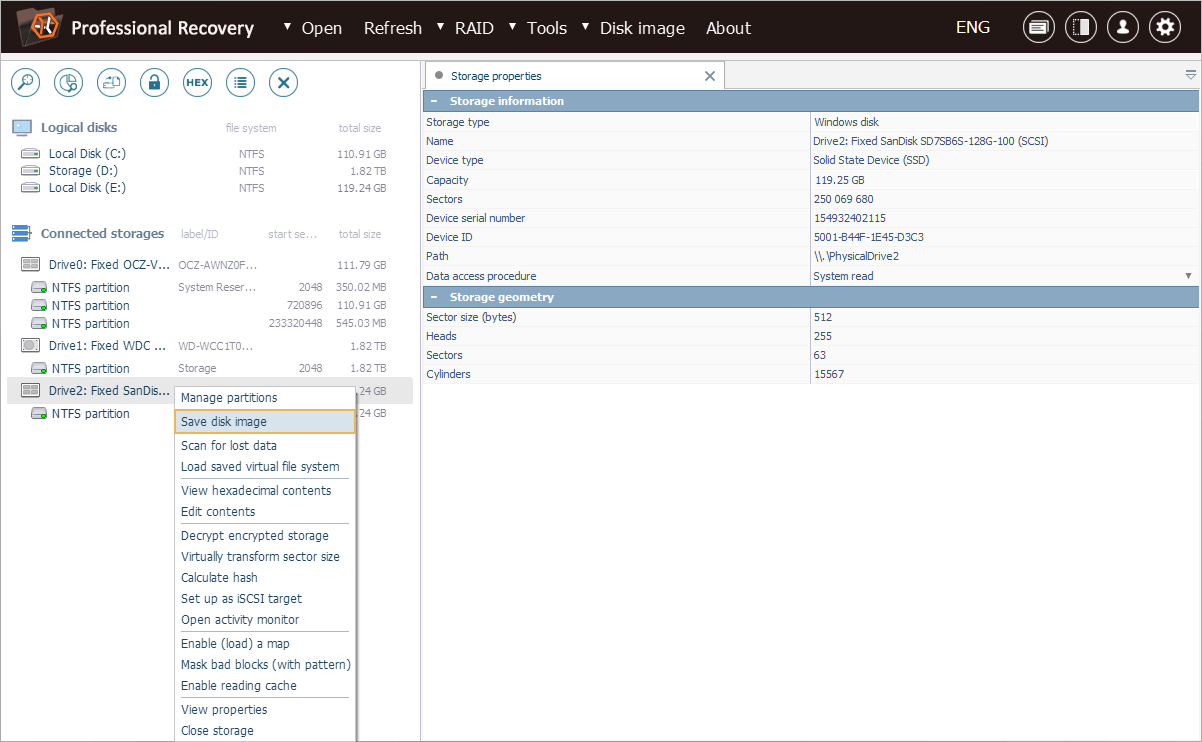
We start by launching Disk Imager for the drive using the "Save disk image" option in its context menu.
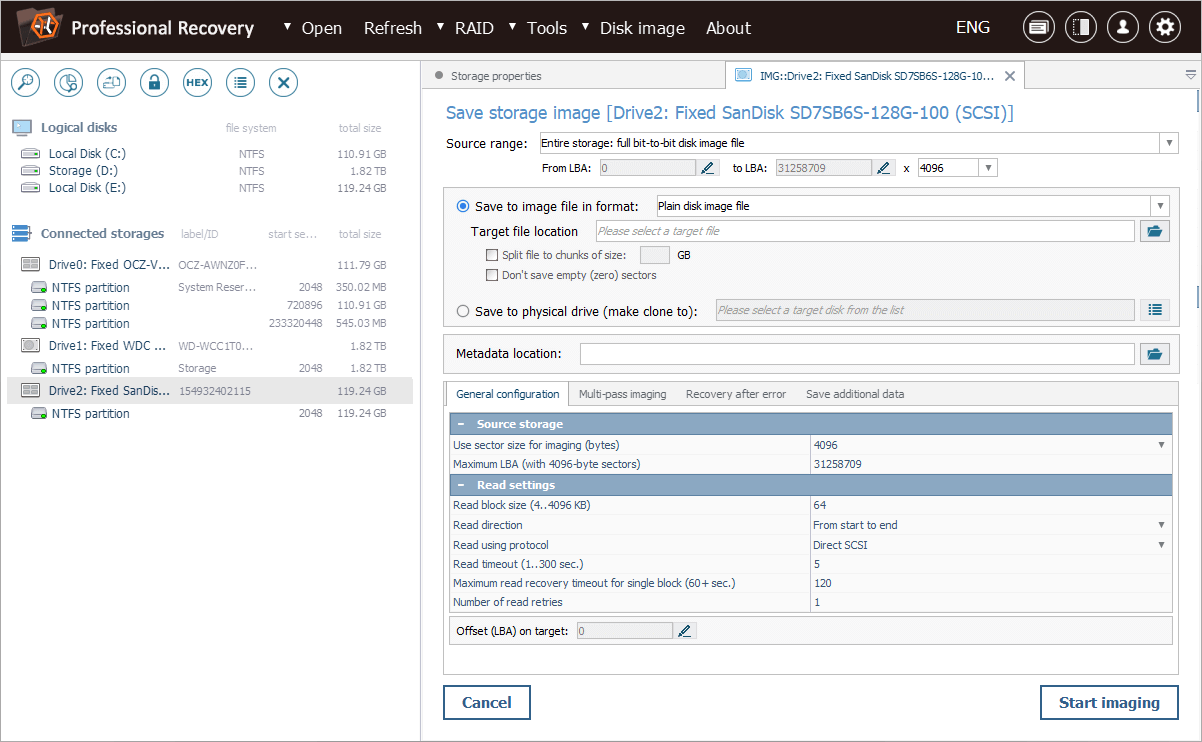
In the imaging task configuration dialog, we opt for the "Full bit-to-bit image at once" mode in order to create a plain disk image file.

After that, we need to specify all parameters required for drive imaging. Detailed guidance on this process is available in How to create a disk image.
Once finished with the necessary settings, we navigate to the "Save additional data" tab. In this tab, we enable the "Save a map of data entropy" option. We also choose a high-precision map format to ensure more accurate analysis.
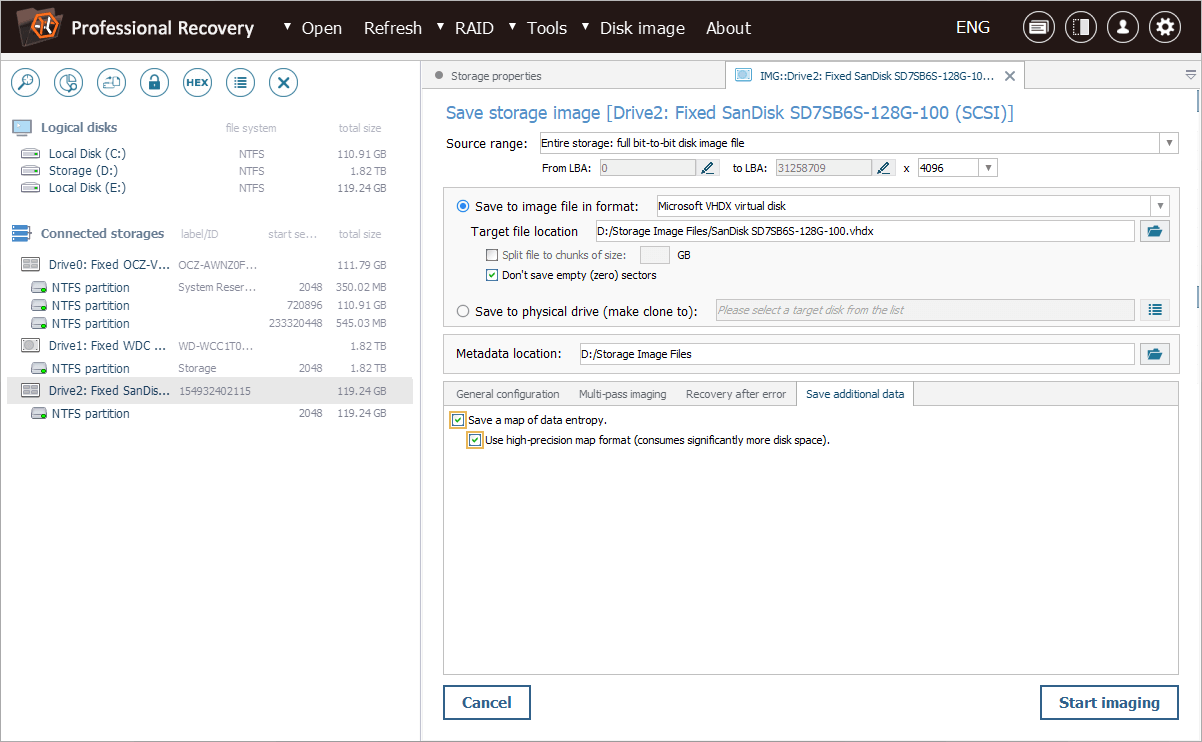
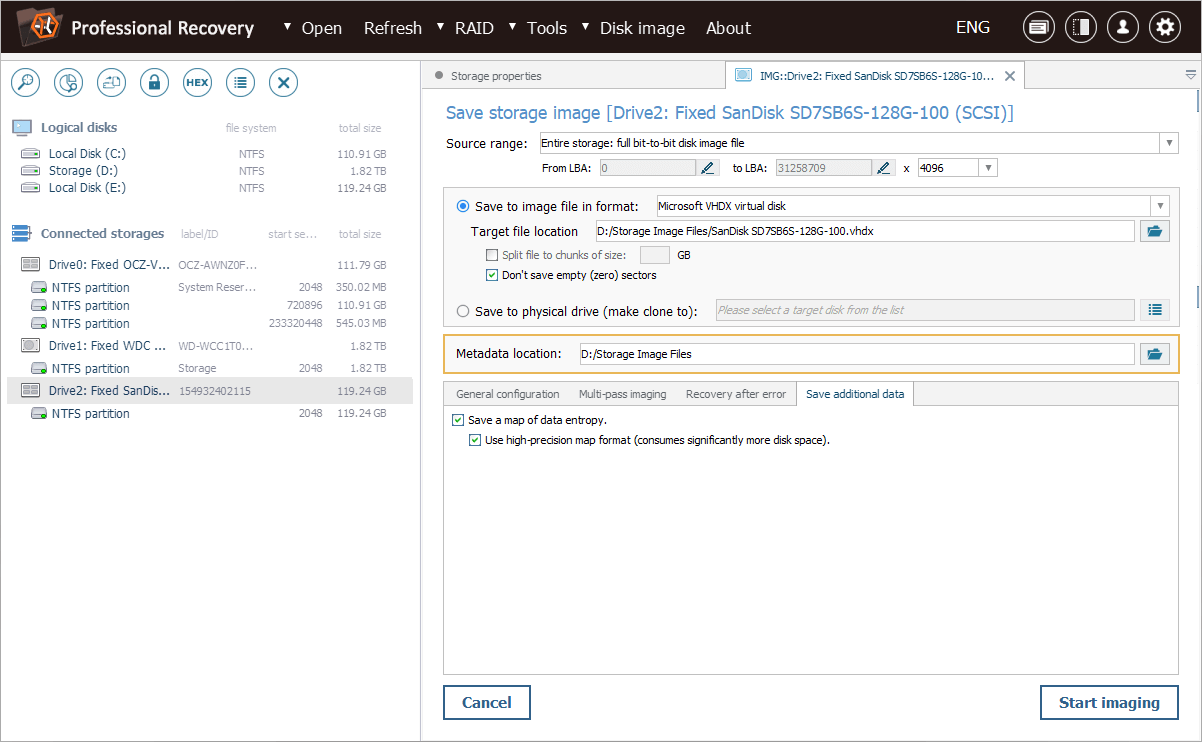
The map will be saved as a *.SDEF file to the path specified next to the "Metadata location" parameter.
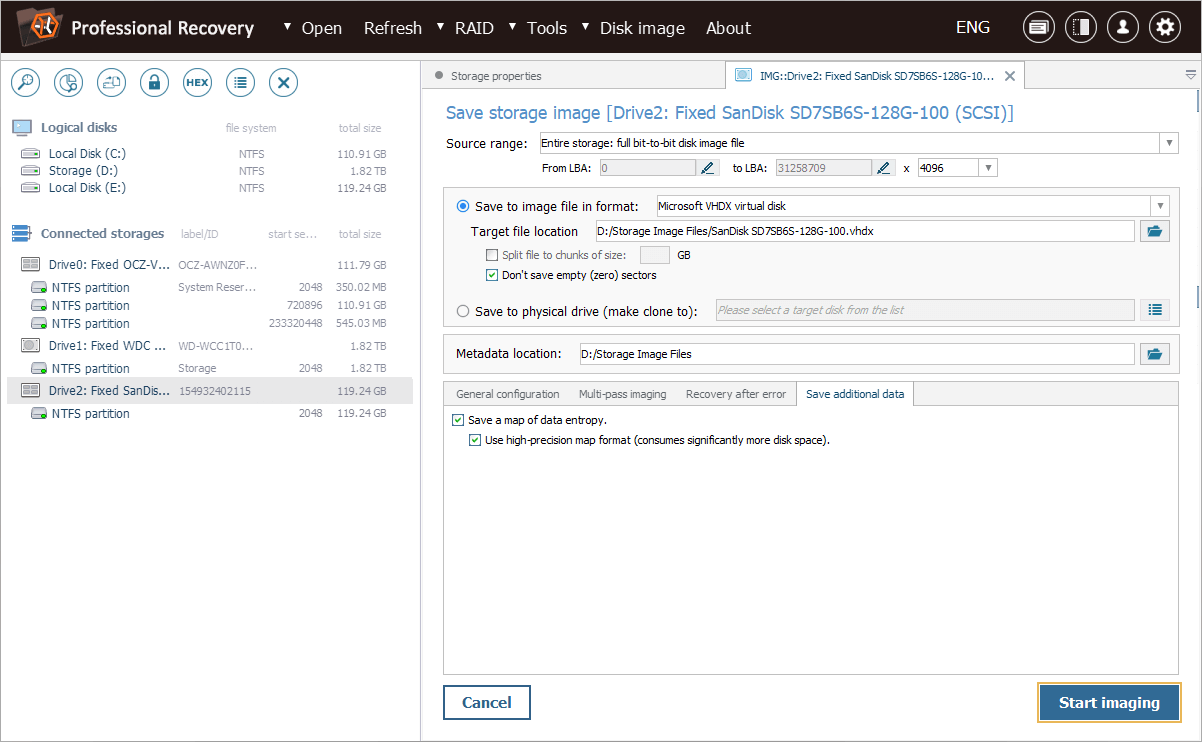
Following this, we can press the "Start imaging" button.
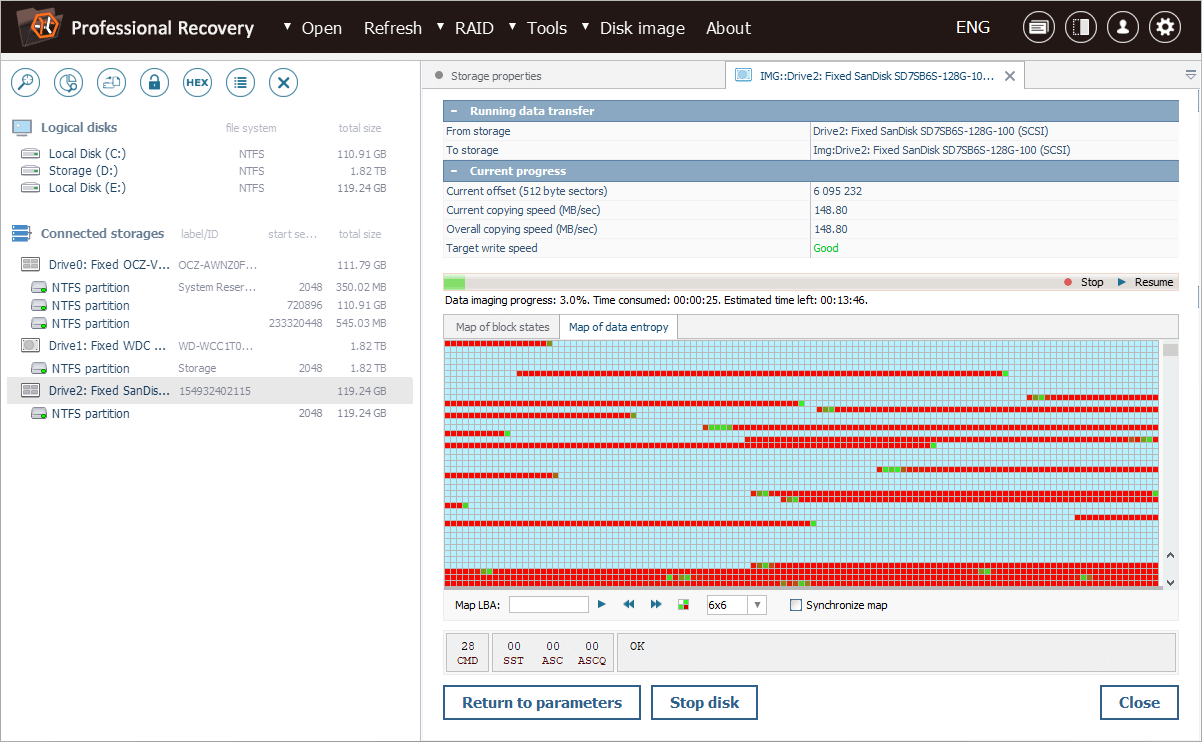
As imaging proceeds, the software calculates entropy values on the fly, displaying areas of high, low and zero entropy on a colored map, where:
Cyan represents zero entropy. Such areas consist entirely of "zeros", either because no data was ever written to them, or they have been wiped using permanent erasure methods, for example, after TRIM.
Bright green indicates low entropy. It is common for uncompressed structured data, such as file system metadata or simple documents.
Red corresponds to high entropy. This is characteristic of encrypted, compressed or scrambled data.
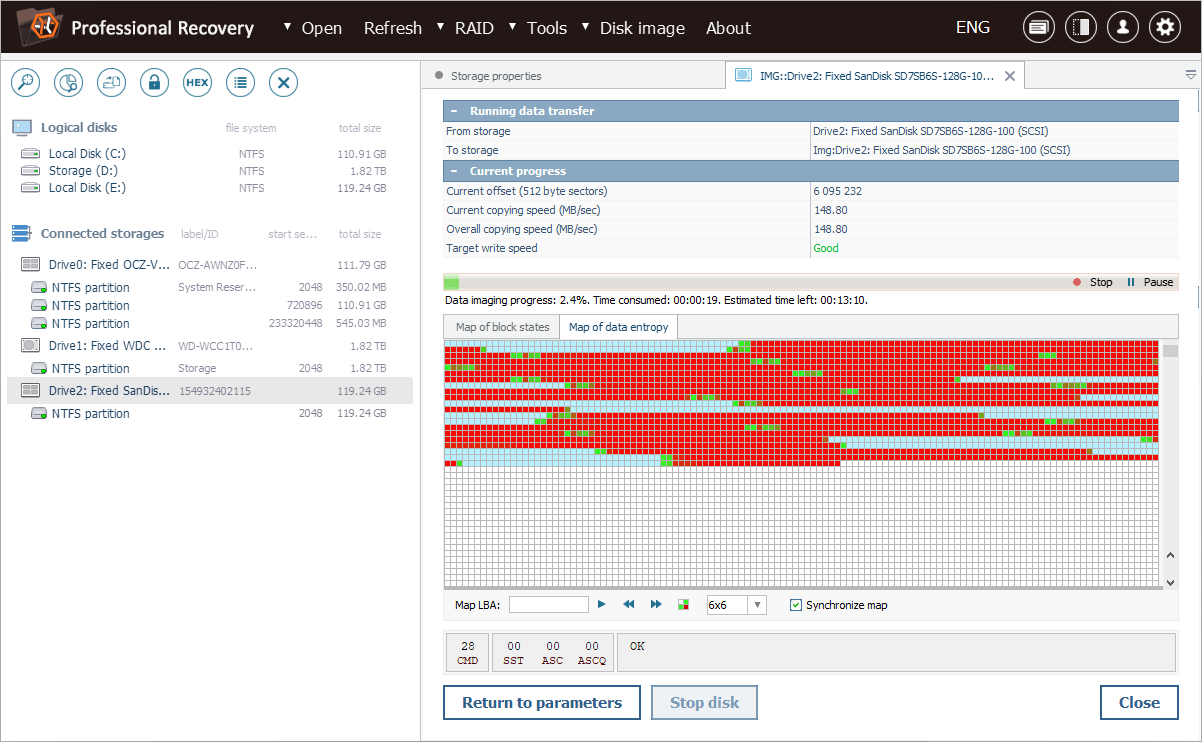
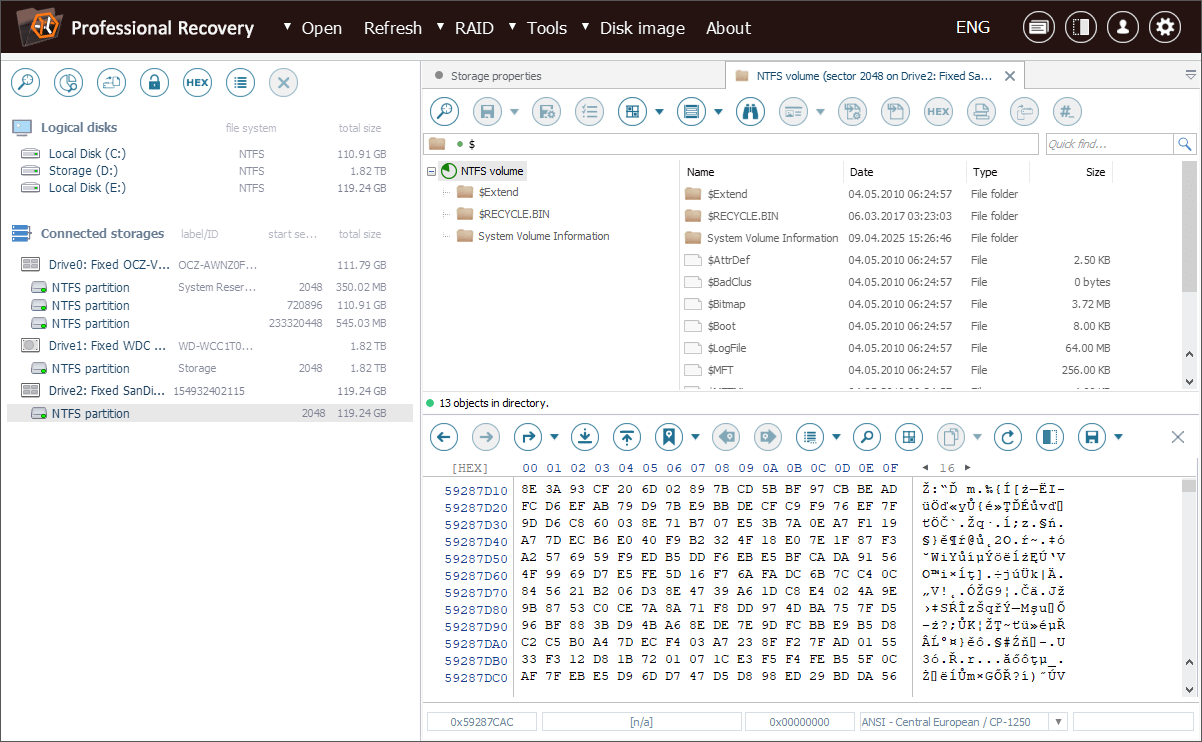
We can navigate the map using the arrow-like buttons or select any block and immediately open it in Hexadecimal Viewer.
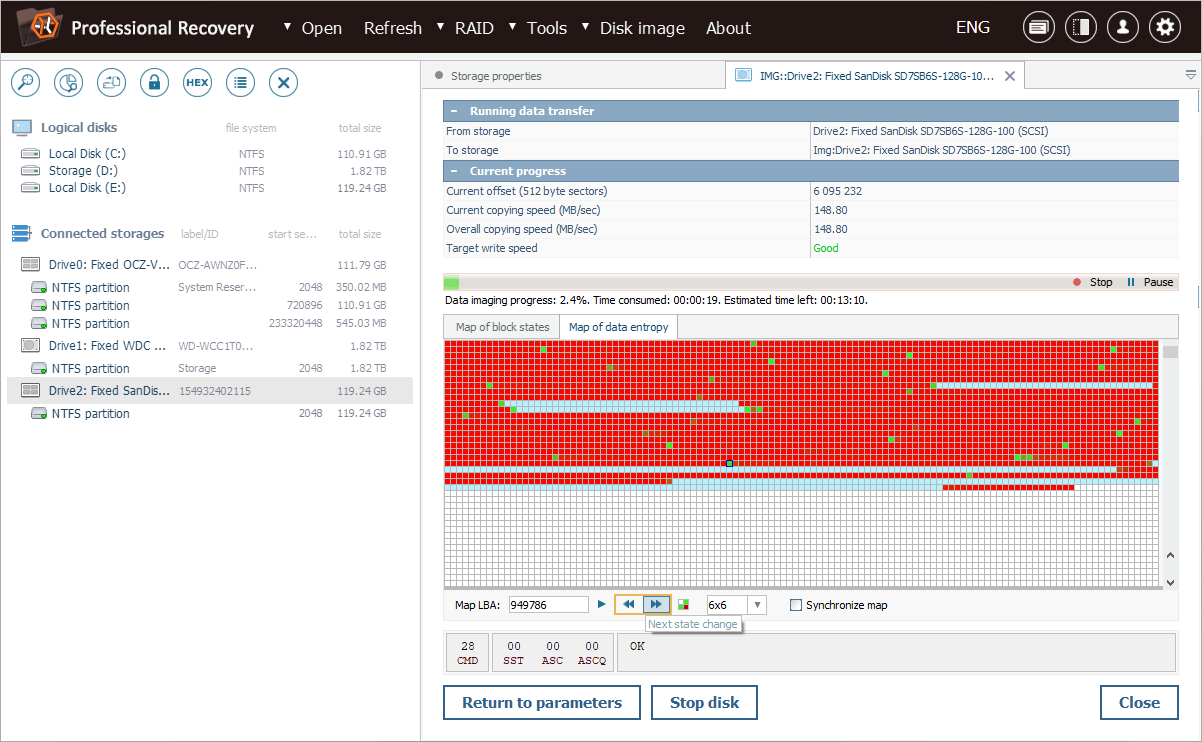
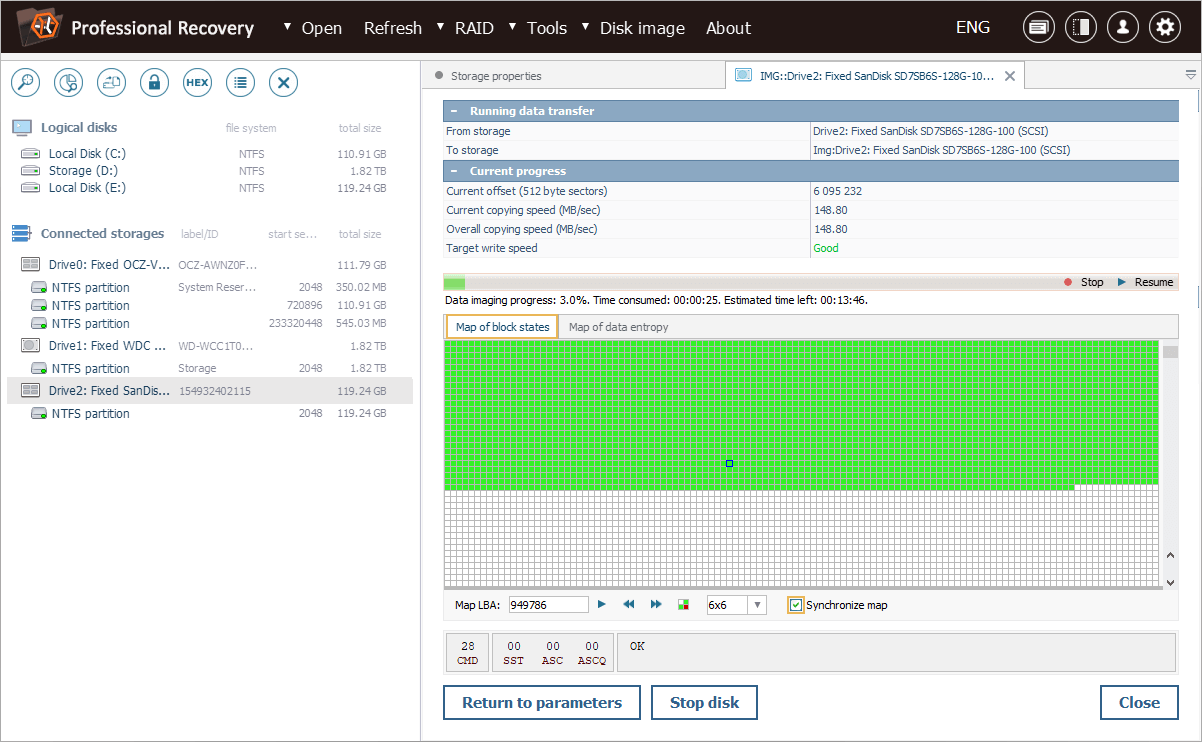
It is also possible to synchronize it with a map of block states for a more comprehensive picture.
Our entropy map shows a clear pattern: we can see large areas of zero entropy, where TRIM wiped the data by overwriting it with zeros. Yet, there are also areas of non-zero entropy, indicating that some blocks remain untouched by TRIM.
We can also press the "Show map statistics" button and compare the number of blocks by their states.
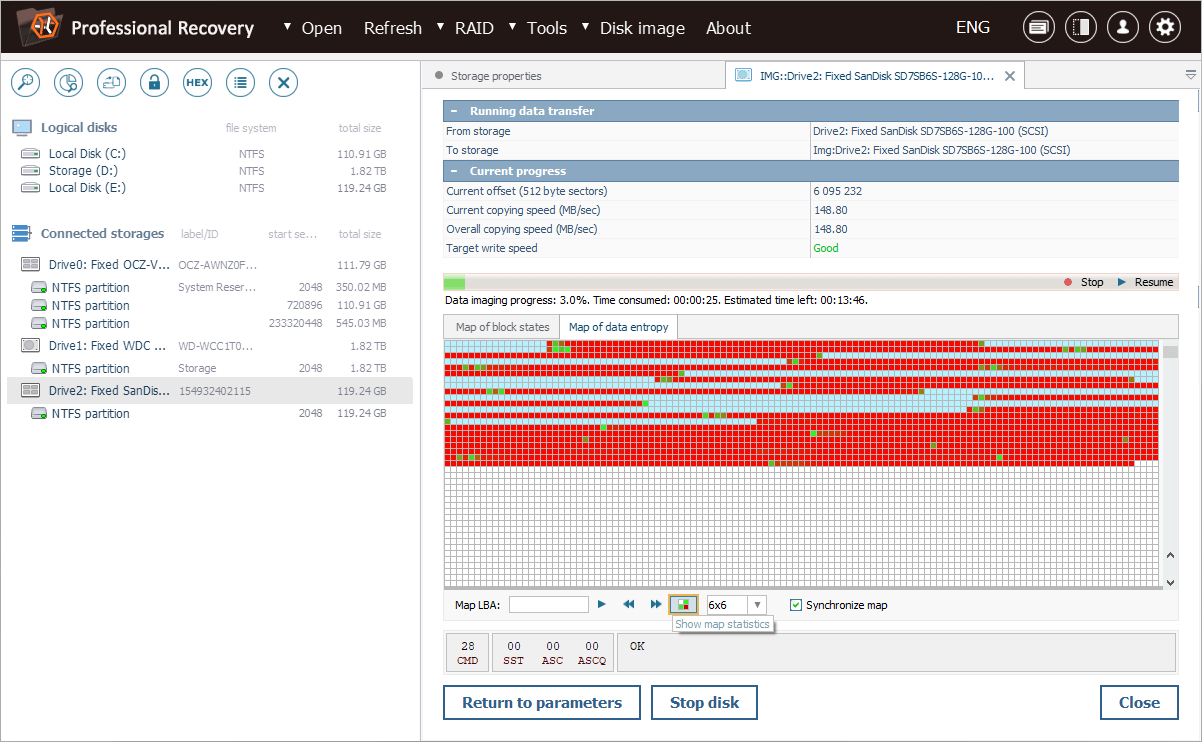
Based on this information, we can conclude that a significant portion of the data is still present in critical areas of the storage. Therefore, we will concentrate our recovery efforts on those non-zero entropy regions.

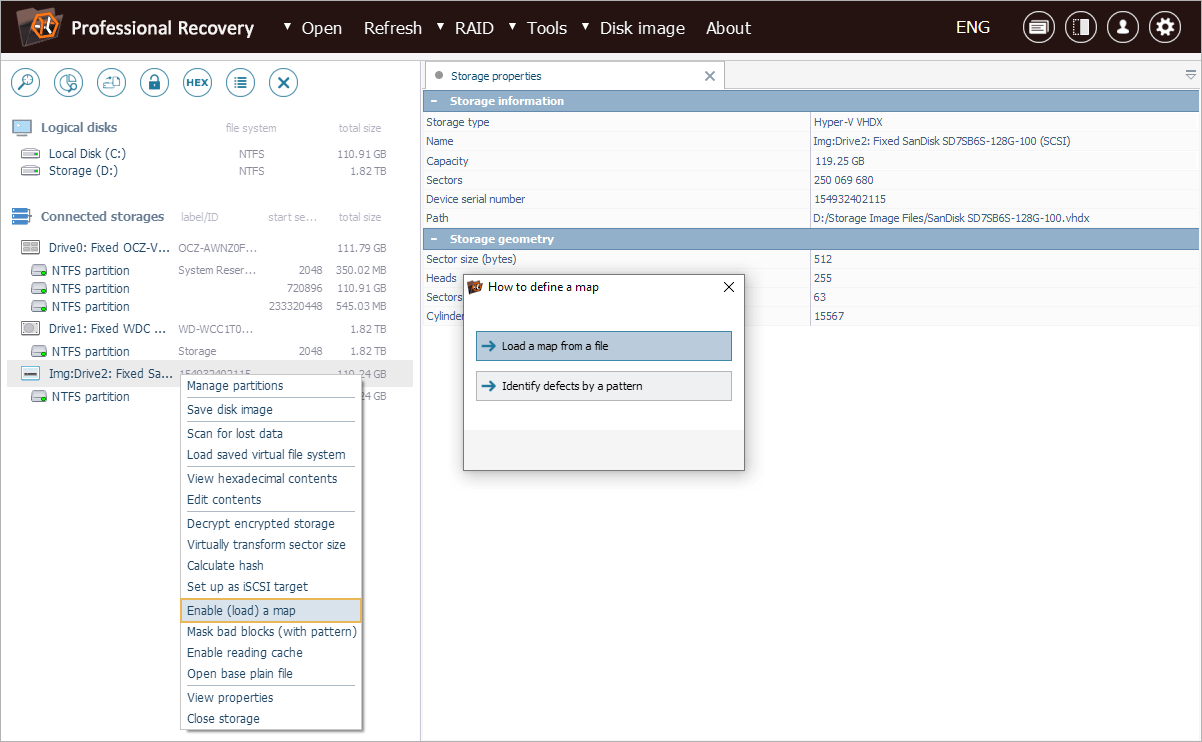
If we need to refer to this map later, we can easily apply the created .*SDEF file to the disk image file using the "Enable (load) a map" tool.
Last update: April 15, 2025