Using external sector (defect) maps for disk image data integrity analysis
When dealing with defective drives, most data recovery professionals rely on specialized hardware and software, which enables far greater control over the imaging process. Such solutions make it possible to effectively skip damaged areas, monitor the state of the device and address any arising issues through manual intervention. As a rule, they also include sector mapping capabilities that allow recording the status of each block – whether it was successfully copied, cannot be read due to I/O errors or hasn’t been accessed during the operation.
After transferring the data to a healthy device, the use of data recovery software is usually required to resolve logical problems, for example, to restore corrupted structures or scan the created image for deleted files. During this stage, a sector (defect) map remains valuable, providing important information about the condition of the data. However, most consumer-grade data recovery tools are not designed to recognize and read sector (defects) maps, especially those produced in proprietary formats. The Professional and Technician editions of UFS Explorer stand out in this respect by the ability to work with a variety of sector (defect) maps. In addition to creating their own *.SDMF block states maps during the imaging process, the programs can import external maps from popular professional systems, including DeepSpar, ACE Lab, GNU ddrescue (RSM), DFL-DE, MRT and others. By loading a sector (defect) map into the software, specialists can easily evaluate the completeness of the image, locate the areas where the content is missing and assess the impact of bad sectors on the recoverable data, even on specific files.
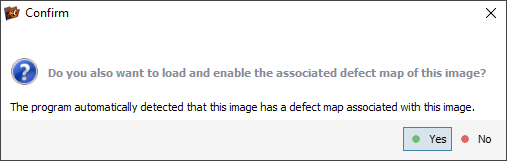
If a disk image and the corresponding sector (defect) map file are stored in the same folder, UFS Explorer may detect the map automatically and prompt the user to load it.
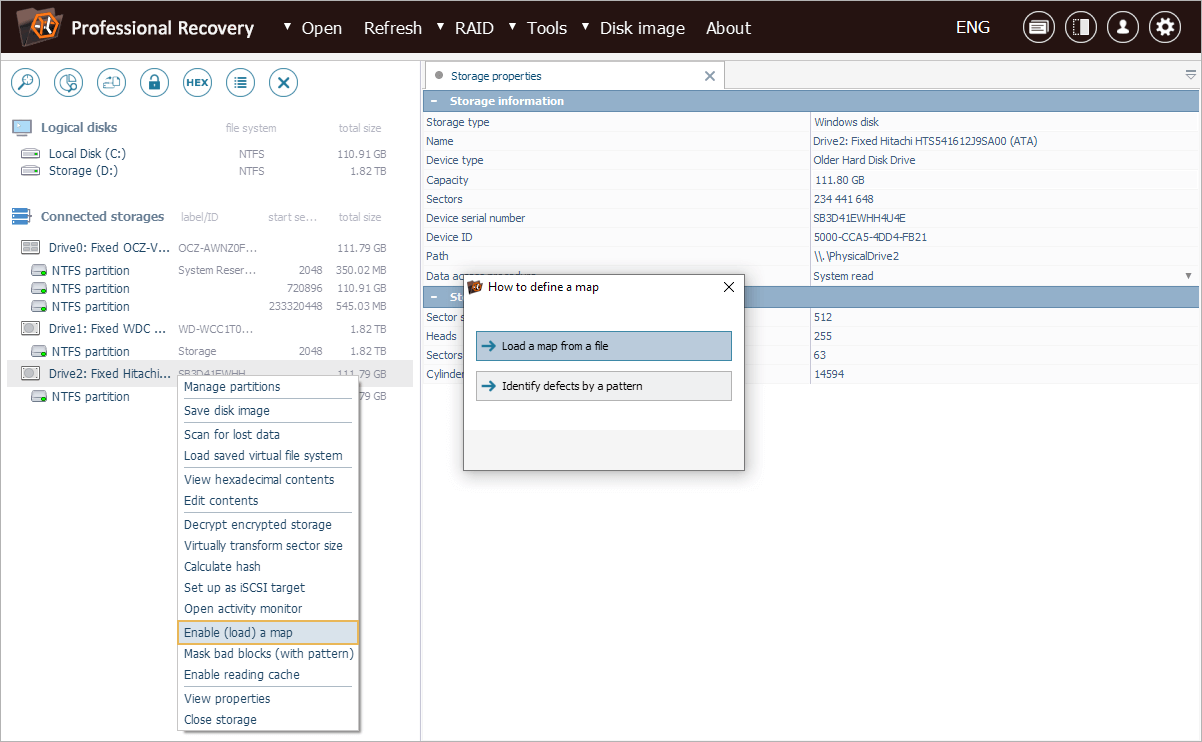
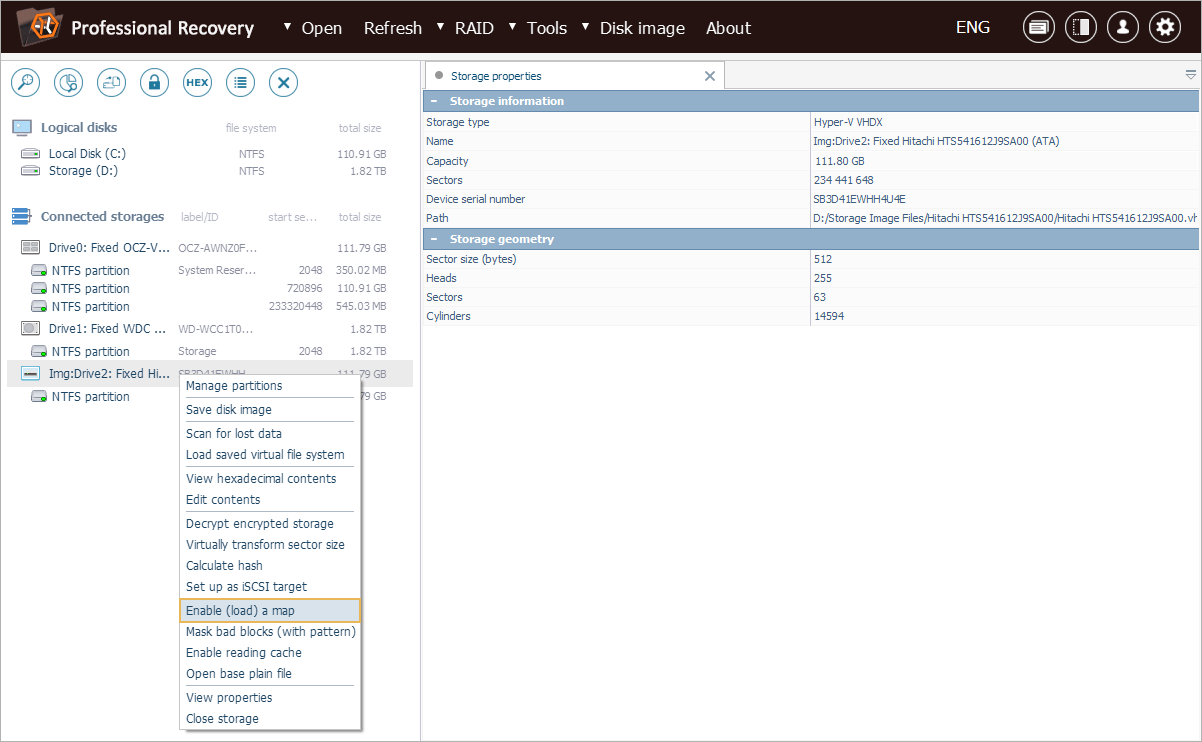
Alternatively, the map can be imported using the "Enable (load) a map" tool found in the storage context menu.
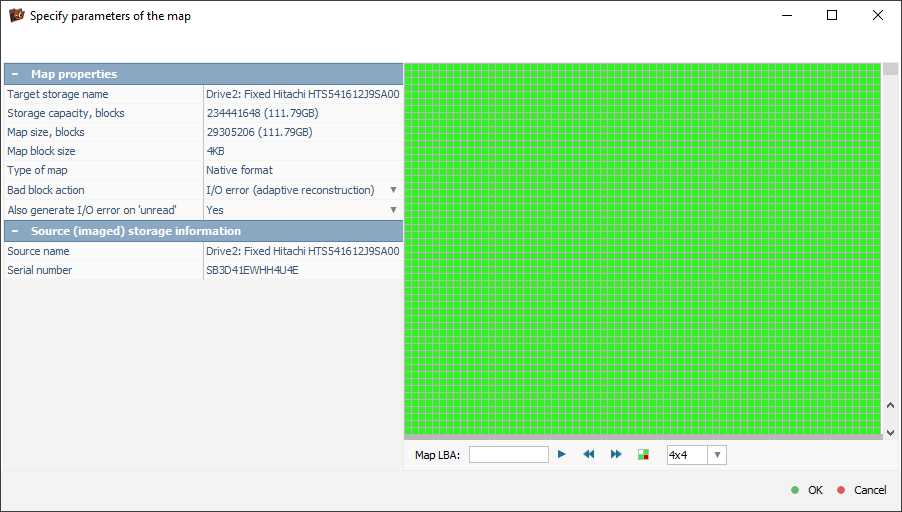
The map loader interface contains the map parameters and a preview pane.
Once a map is applied to the disk image, it is mounted as a new virtual storage with defect emulation. This map can be opened in a dedicated tab using the "Display map of blocks" option from the context menu of the storage object.
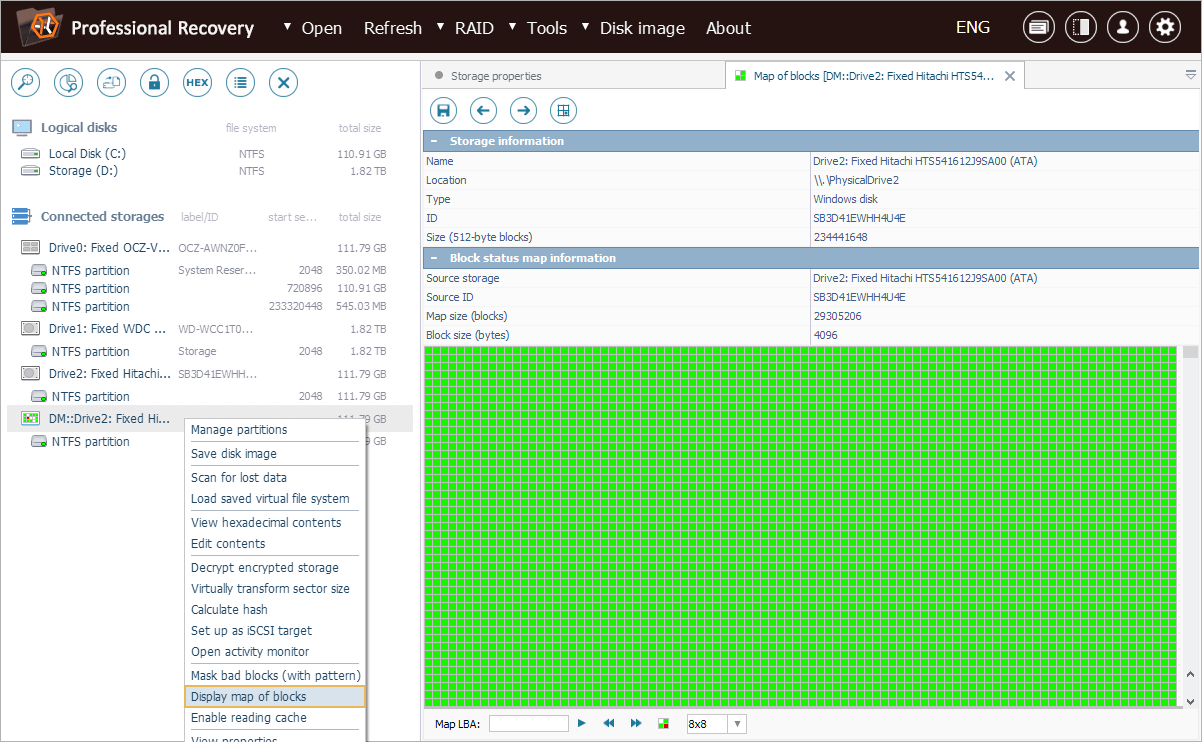
Colored cells indicate the status of different areas of the image: all imaged blocks appear in green, defective blocks are shown in red, and gray represents unprocessed blocks. This tab also provides an option to save the map information to a file in the UFS Explorer's native *.SDMF format, including in a "reversed" state.

In addition, a visual display of the sector map becomes available in a separate tab within the Explorer (file browser) element.

Now let’s look at a practical example that showcases this functionality. We need to recover a set of crucial files from an old degraded hard drive. Though a professional disk imaging system has been employed when creating its image, a large portion of the content hasn’t been captured due to the physical condition of the storage medium. The information about which blocks were copied and which ones were skipped has been documented in a sector (defect) map that has the proprietary format used by the original system. Our aim is to find out whether the defective or unprocessed blocks overlap with the areas where the required files are located.
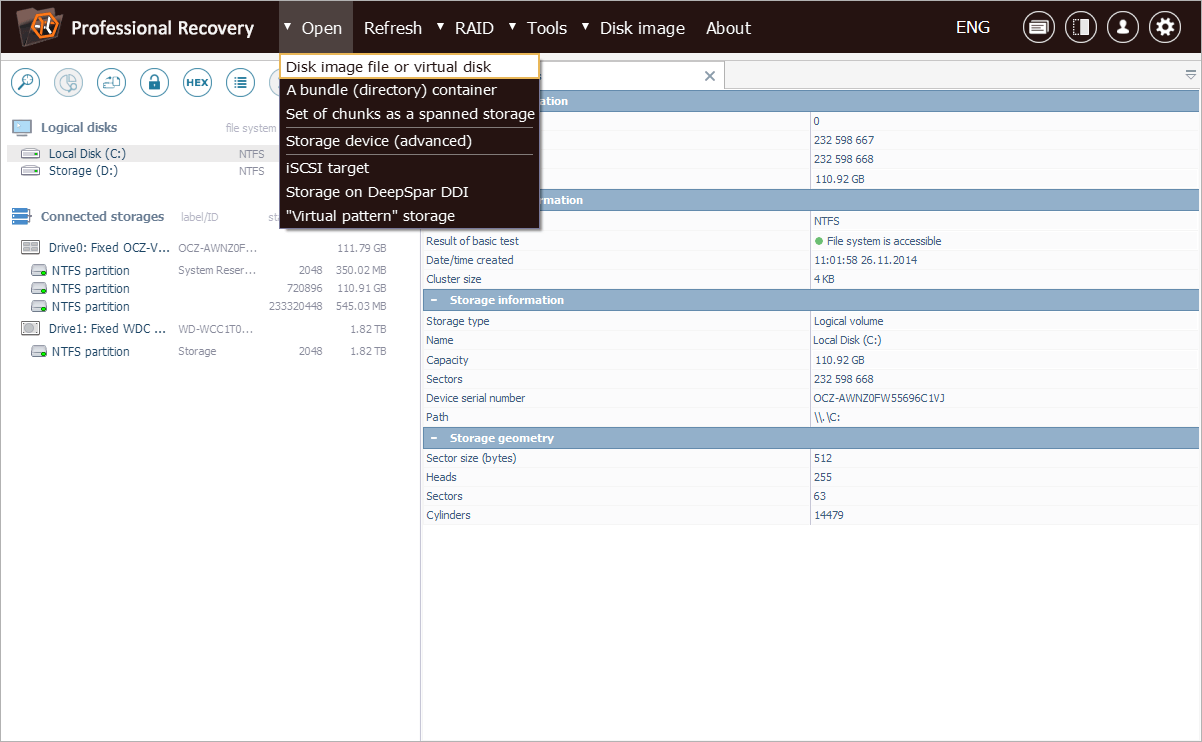
To begin with, we need to load the acquired disk image into UFS Explorer using the "Disk image file or virtual disk" option from the "Open" menu.
After that, we can get the "Enable (load) a map" tool from the storage context menu to apply the sector (defect) map.
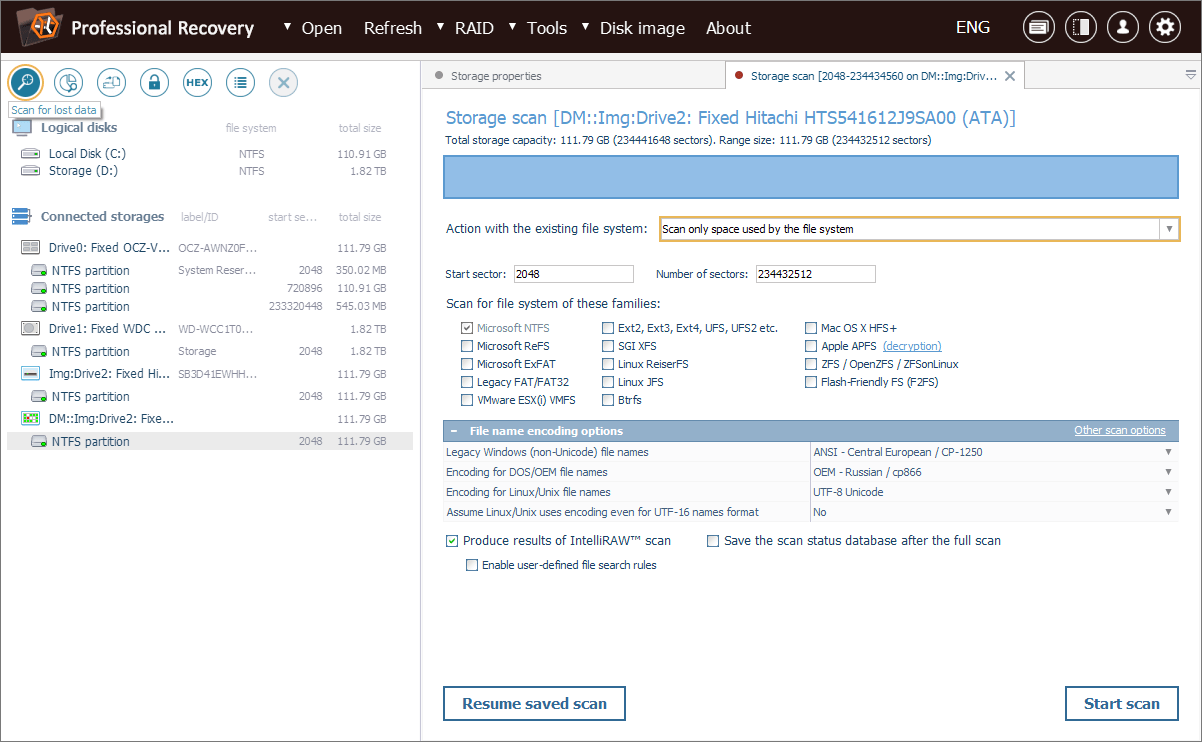
Now we need to perform a storage scan to restore the missing file system structure. We will restrict it to the occupied space in order to speed up the process.
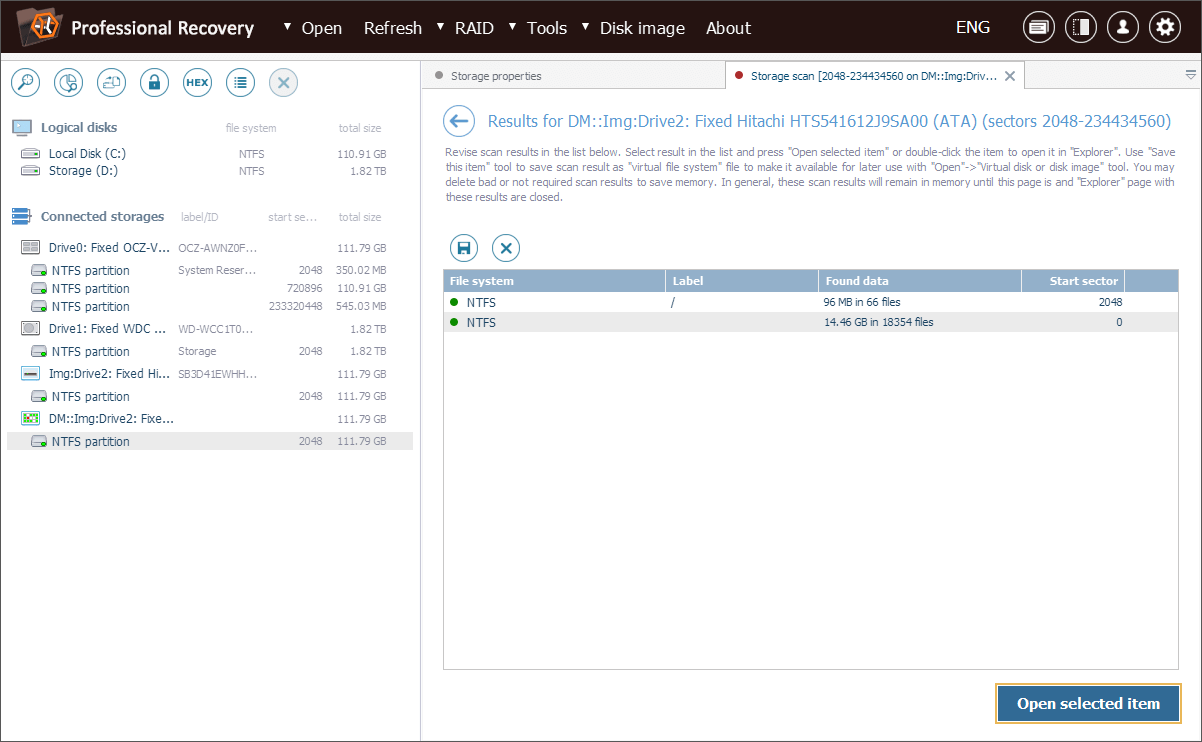
Once the scan is completed, we can browse the recovered file system and find the necessary files.
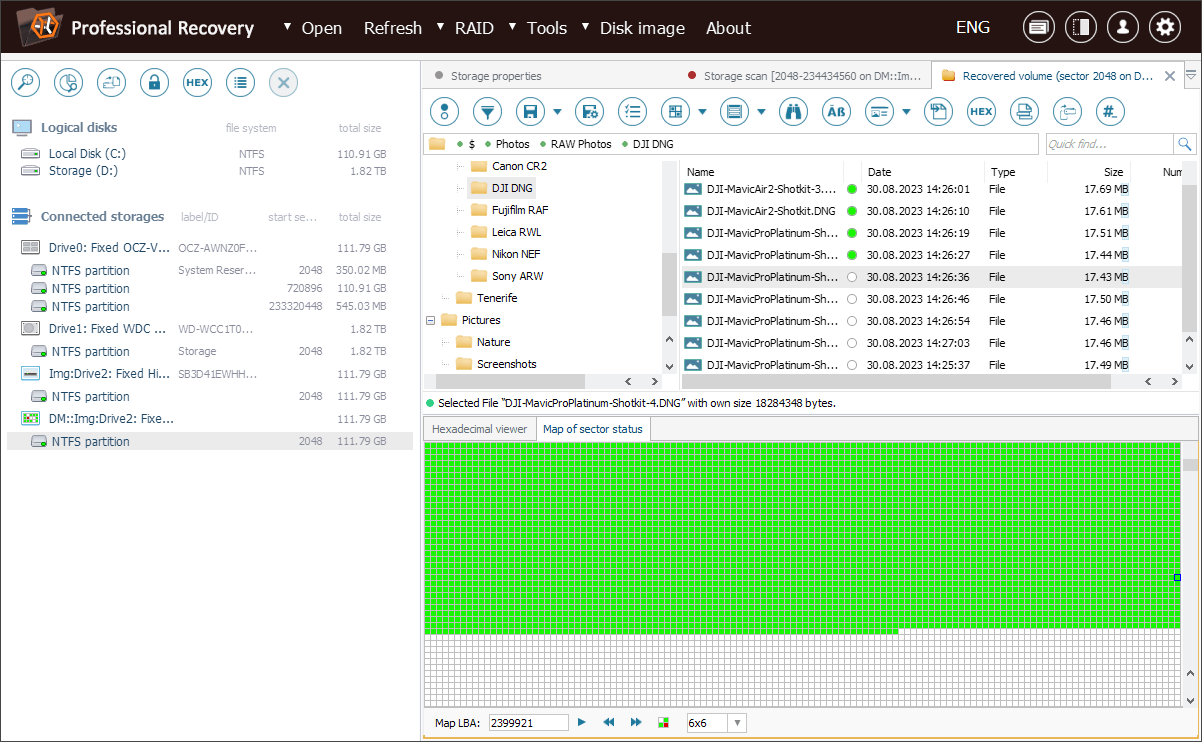
For quick assessment, we set the file status information tool to "check for unimaged or defective blocks in files". This allows us to identify incomplete files right away, as they will be marked with white icons.
![]()
For more in-depth understanding, we launch the "Show on-disk fragments" tool for each file and get the exact locations on the disk associated with this specific file, displayed in the Hexadecimal Viewer tab.
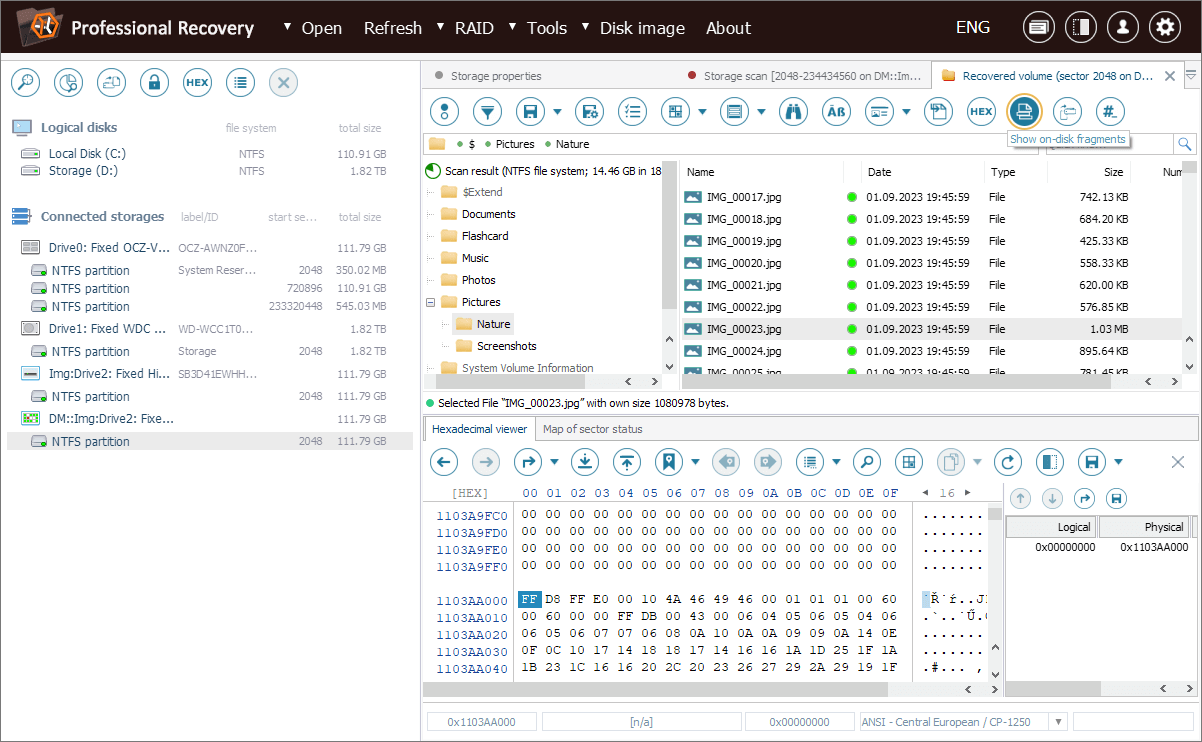
Using this list, we can navigate through the content locations and then cross-reference them with the map by switching to the second tab.
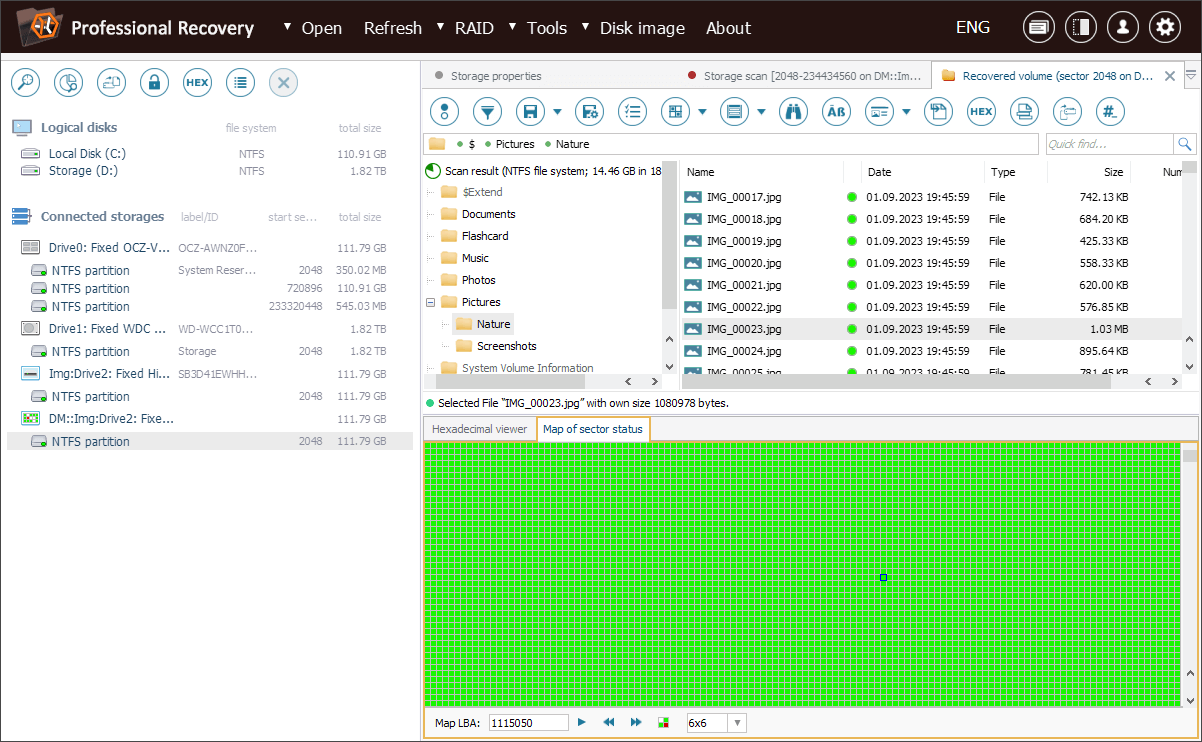
The map reveals that some files occupy disk space but are partially located in unreadable or unprocessed sectors. Therefore, these files were not completely written to the image.
This analysis allows us to determine which of the files were affected and adjust our recovery strategy accordingly.
Last update: April 14, 2025