Enabling a "read" cache in UFS Explorer to speed up RAID recovery
When working with RAID sets, particularly those configured with a small stripe size, such as 4 KB, 8 KB or 16 KB, data recovery software must frequently switch between the drives to retrieve tiny fragments of data distributed across multiple components of the array. This high intensity of I/O operations considerably slows down the recovery process, especially when the drives themselves are not very fast, for example, due to a lower-speed connection interface, like USB.
UFS Explorer of the Professional and Technician editions can address this limitation through RAM-based caching activated for the RAID components. By storing previously accessed blocks in memory, the programs reduce the number of requests to the physical drives, significantly improving both scan and copying speeds.
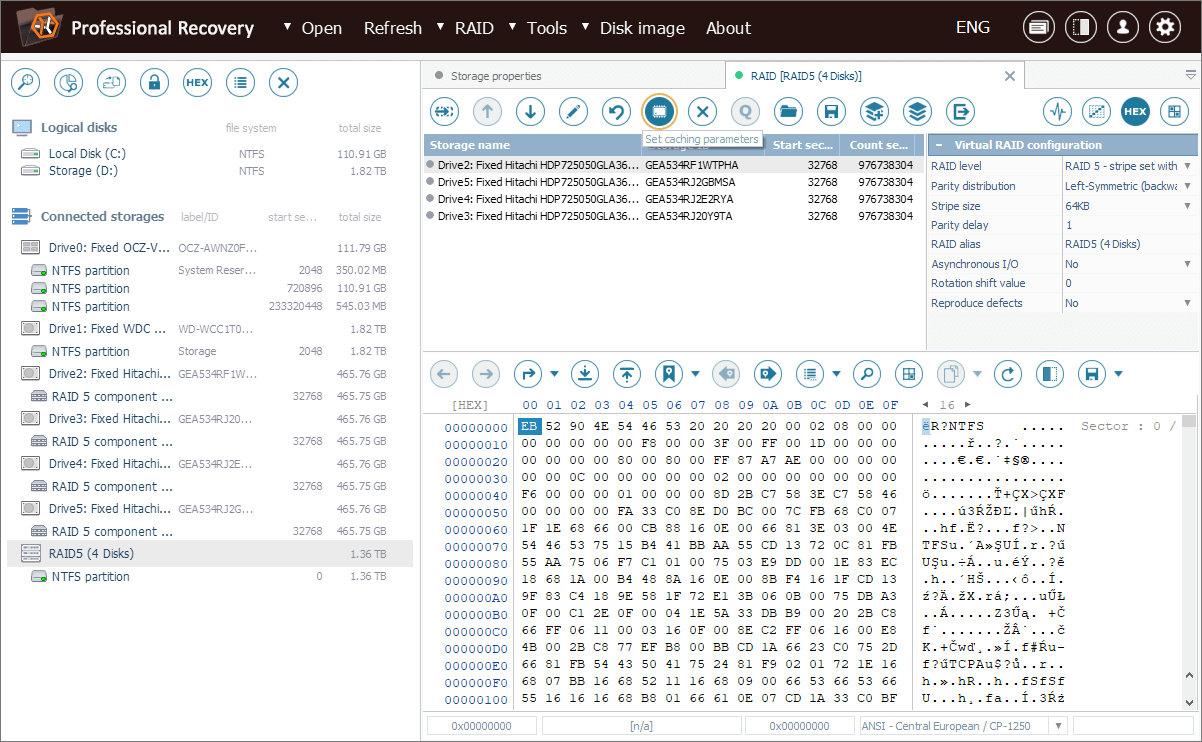
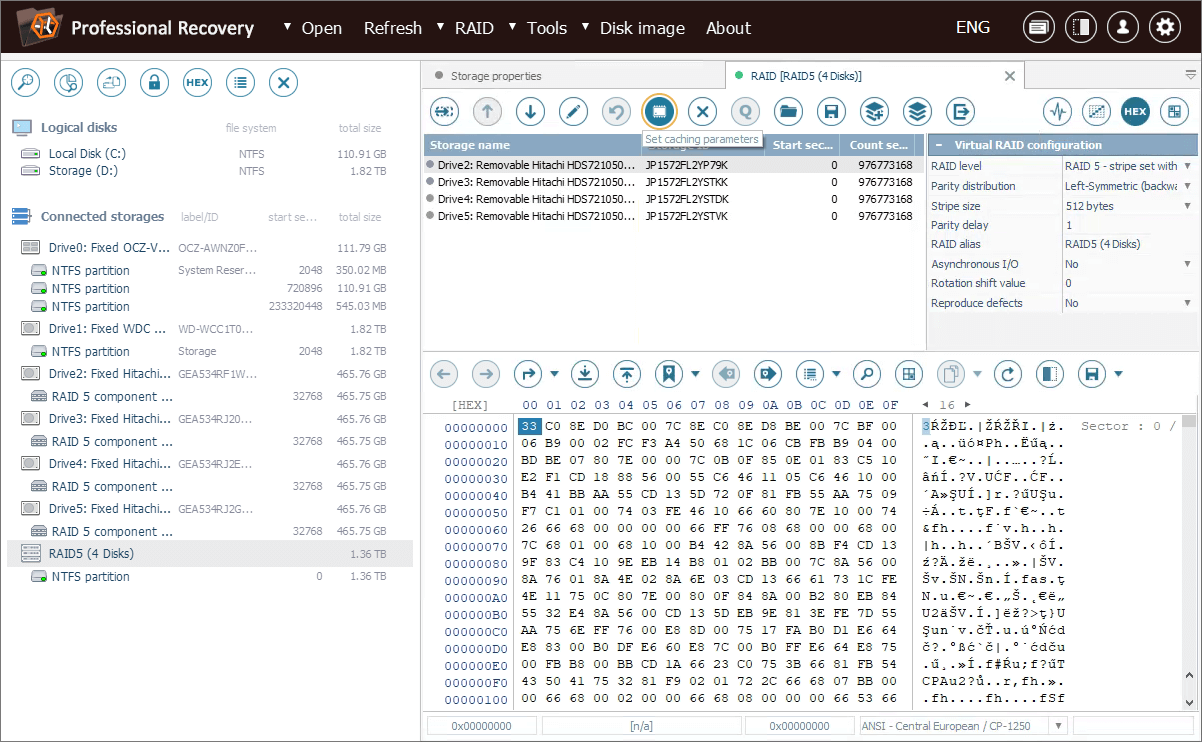
The caching function is available through the "Set caching parameters" tool in the main toolbar of RAID Builder.
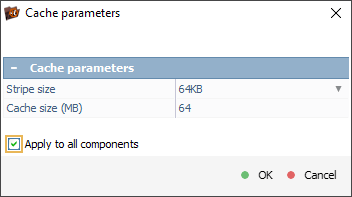
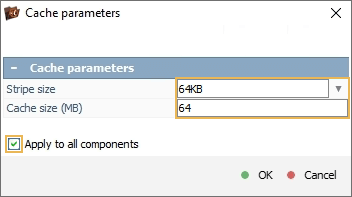
The "Set to all" option from in the "Cache parameters" dialog allows applying the specified settings across all components with just one click.
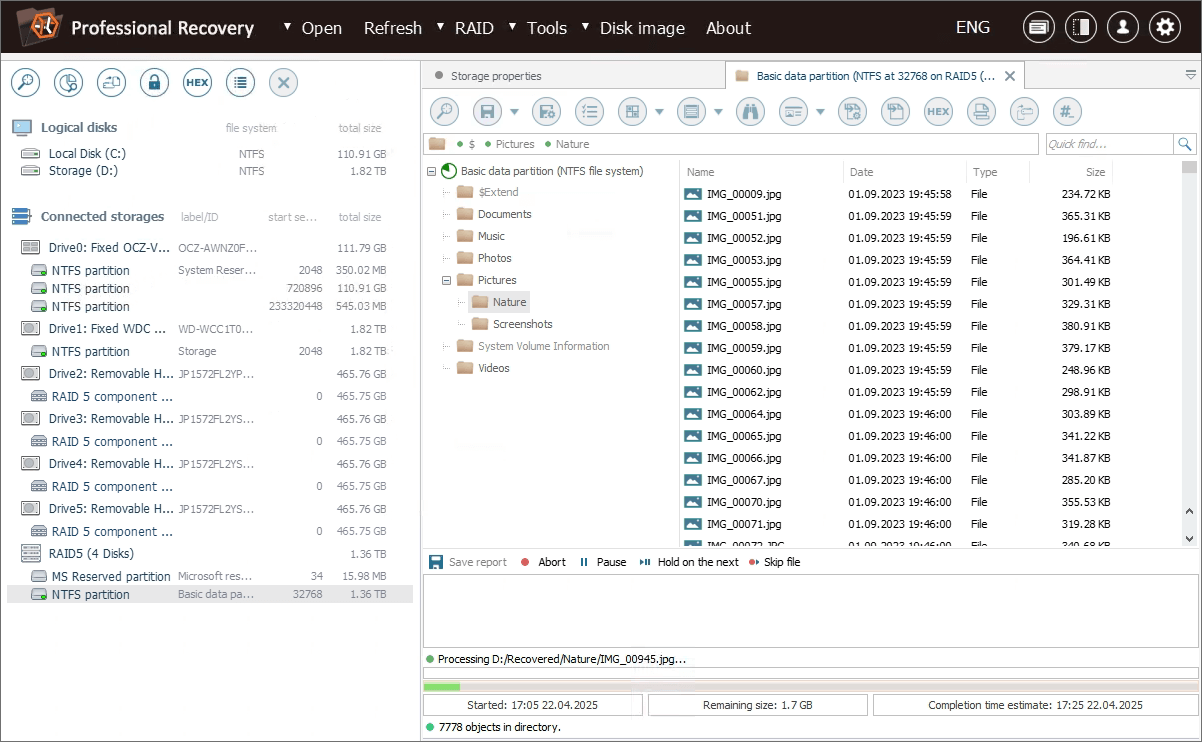
Let’s consider a practical example to illustrate the impact of caching on the copying speed. We need to recover some data from a RAID set configured with a very small stripe size of 1 sector (512 bytes). The components are connected to our computer via an external USB-to-SATA adapter.
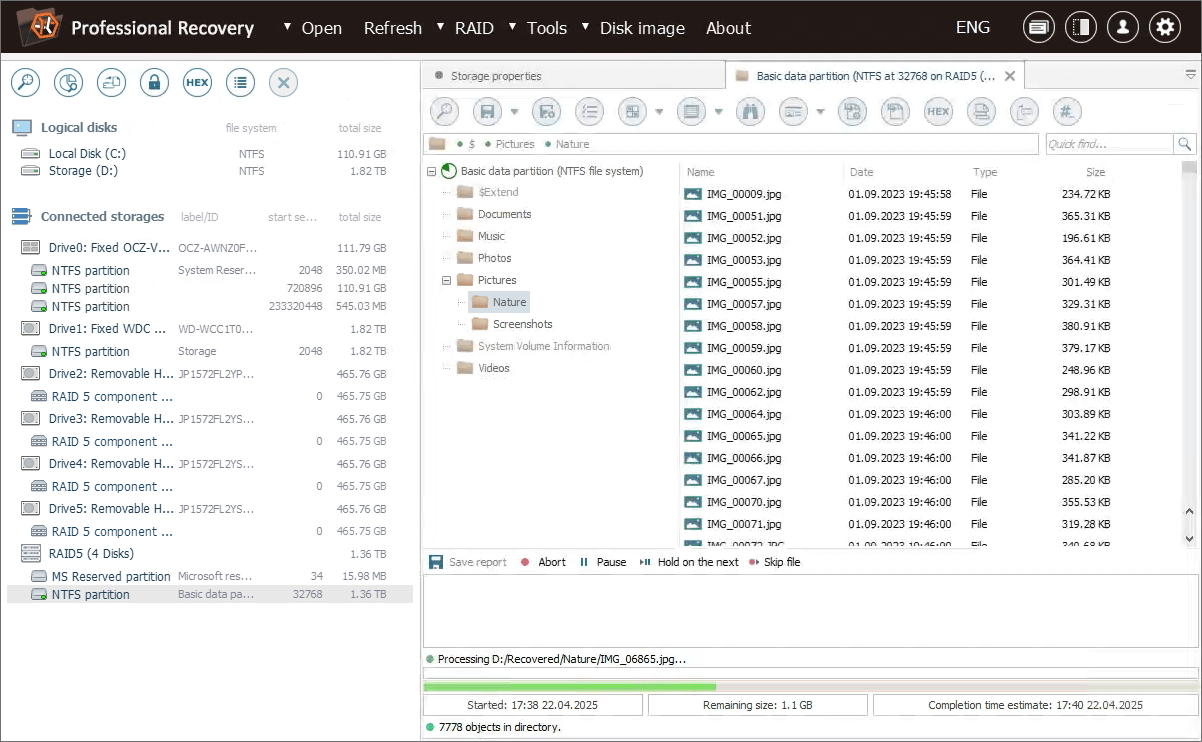
The array has been automatically reconstructed in the software, allowing us to access the storage and start copying files from it right away.
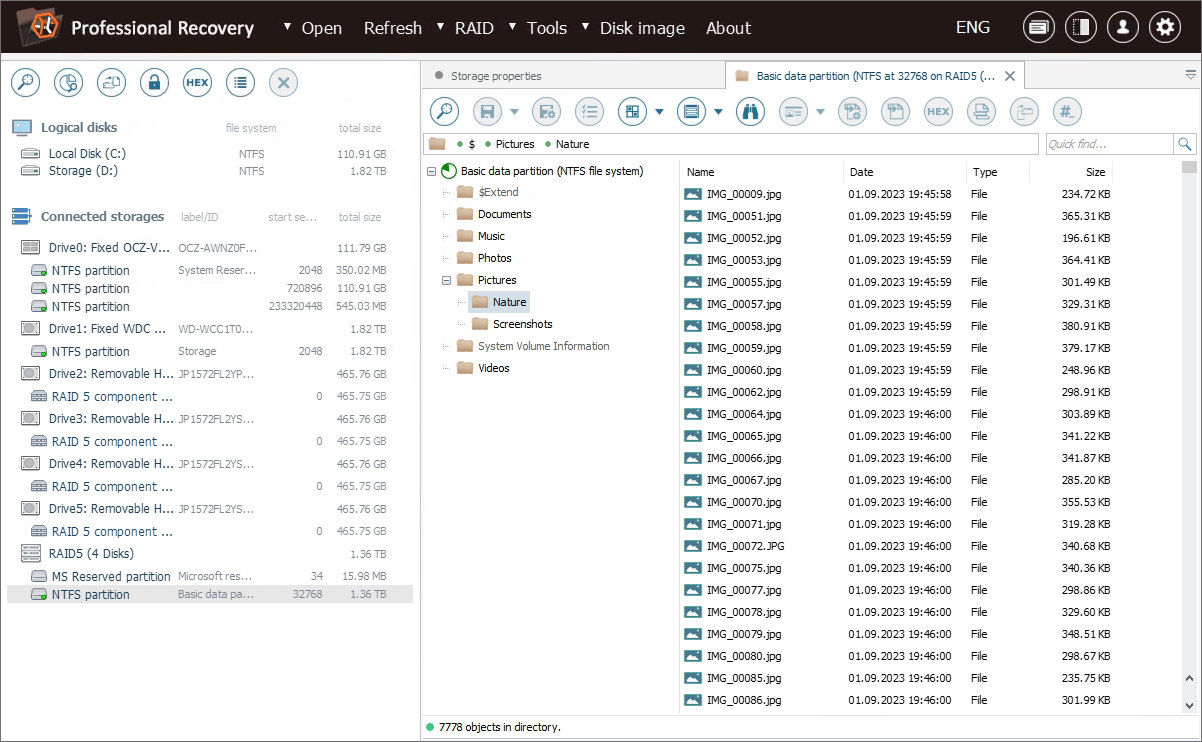
We select the required folder of 1.8 gigabytes and initiate the process.

The estimated completion time is about 20 minutes, which seems quite long for a folder of this size.
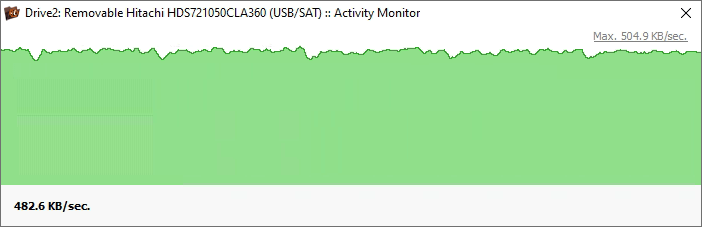
The reported reading speed is also relatively low, at 482.6 KB/sec.
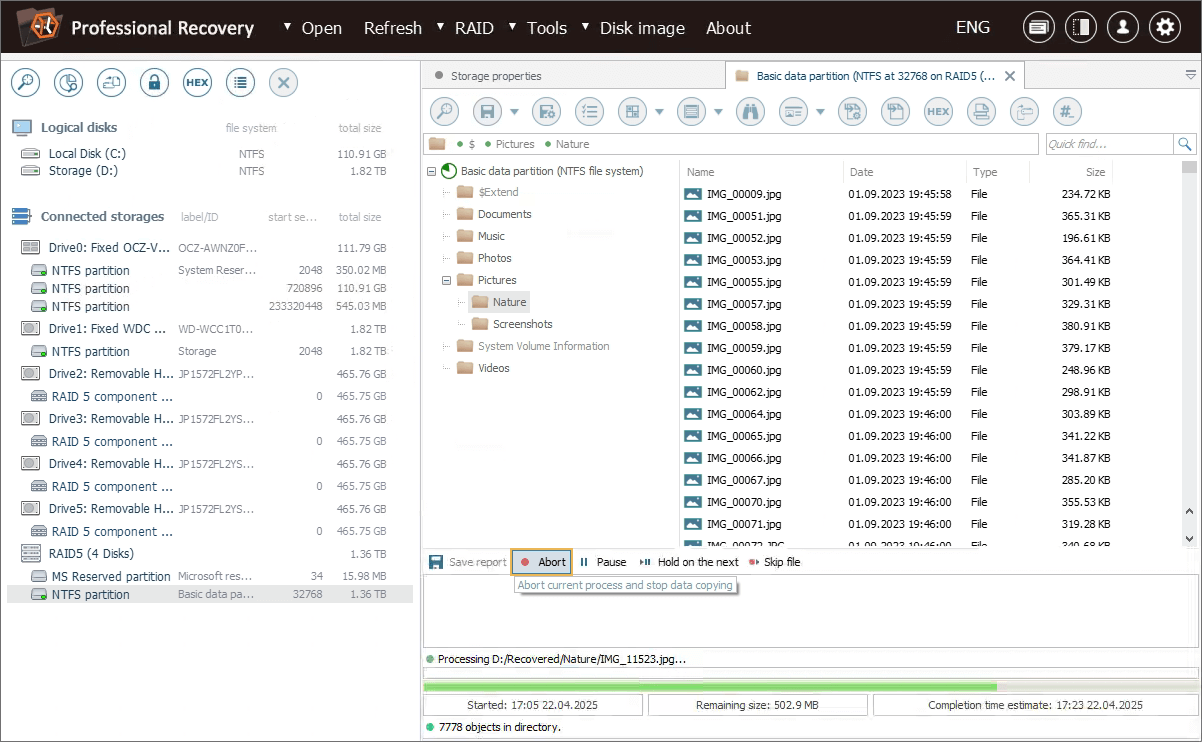
Given these results, we abort the operation and take the necessary steps to activate the cache.
First of all, we need to open this RAID configuration in RAID Builder. For this, we choose the "Edit RAID configuration" option from the storage context menu.
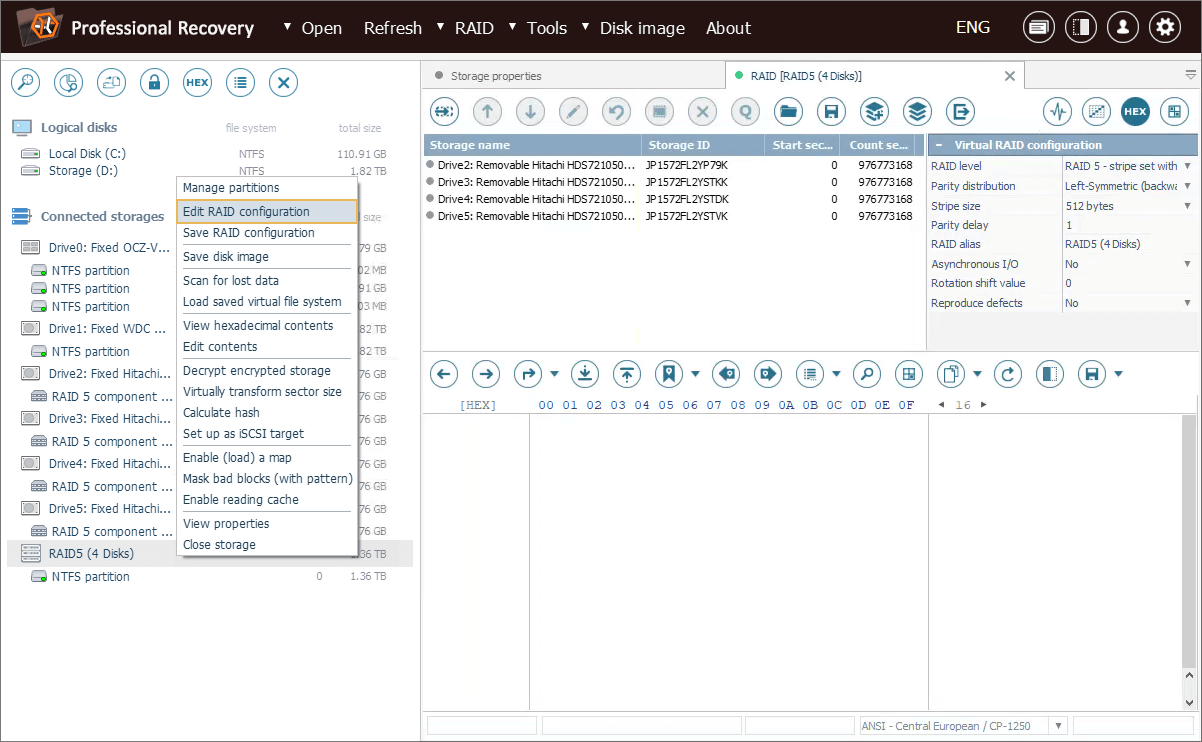
In the RAID Builder dialog, we select an arbitrary storage component and get the "Set caching parameters" tool from the toolbar.
Next, we need to specify the stripe and cache size settings. We also tick off the option to apply them to all components at once.
Once finished, we click the "Build this RAID" button.
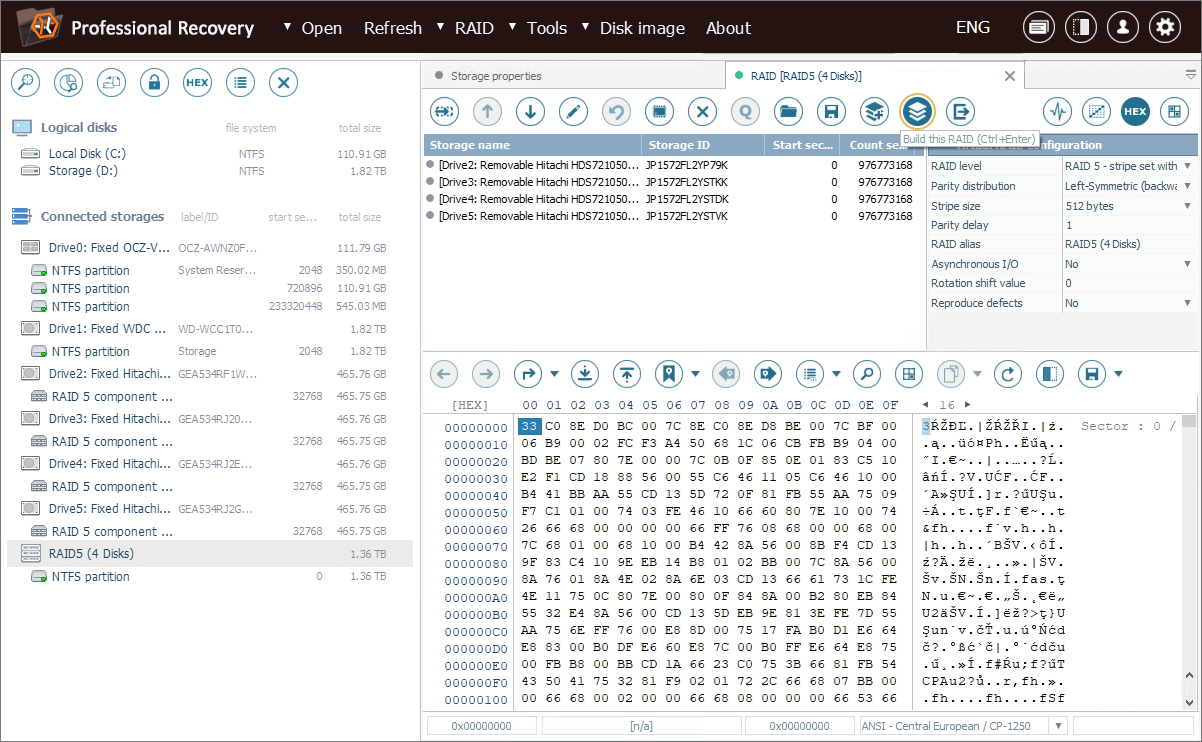
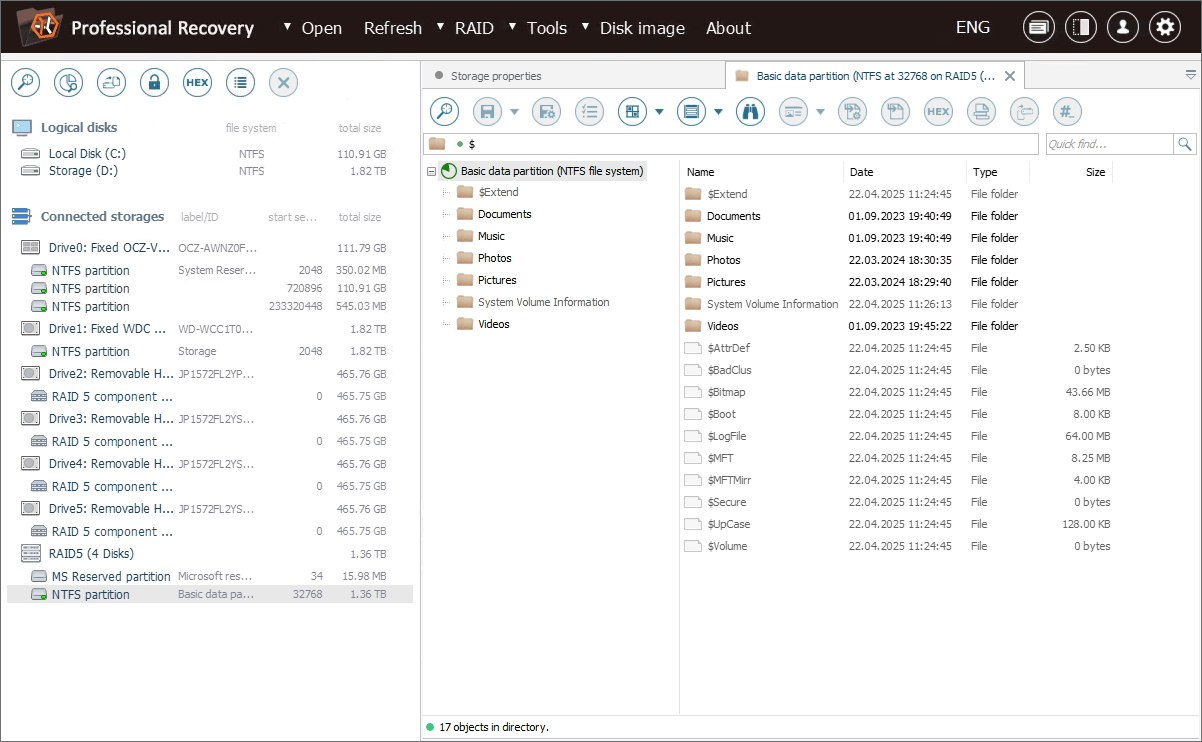
After that, a new "cached" virtual RAID appears in the storages navigation pane.

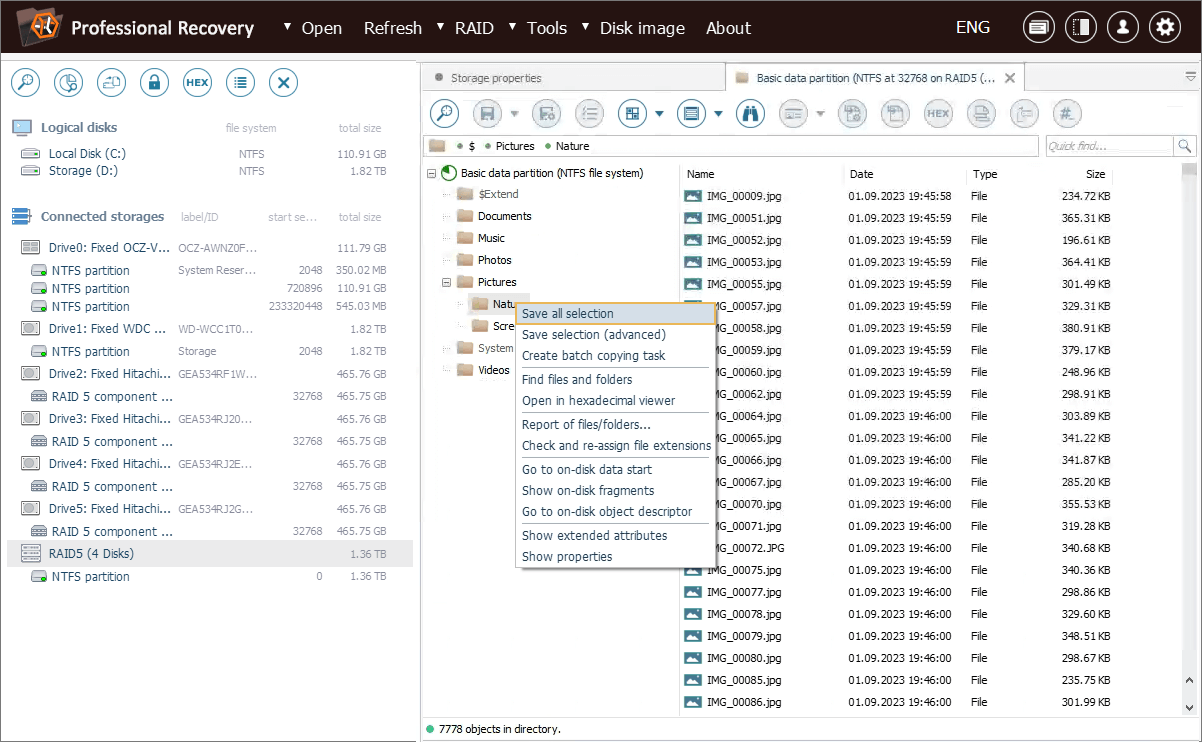
Now we can open the partition mounted on this storage and begin copying the required folder.
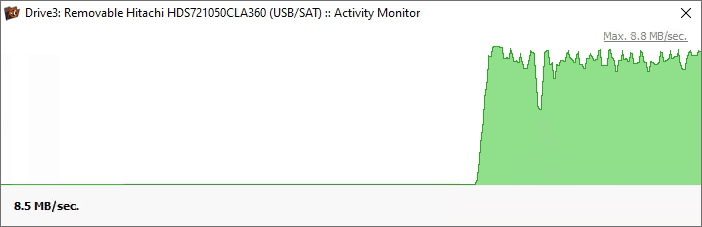
With caching turned on, copying of the very same folder takes about 2 minutes, which is an evident improvement in comparison to the initial estimated time.
The reading speed also increases considerably to 8.8 MB/sec.
Using the caching function, we’ve managed to retrieve the data from our RAID in almost no time. Of course, the performance boost is directly related to the stripe size of the array, and the impact of caching may be less noticeable with larger stripe sizes.
Last update: April 25, 2025