How can I restore deleted files from macOS?
Increased security has always been the hallmark of Apple's Macintosh computers. Still, being much less vulnerable to malware when compared with PCs, Macs remain equally exposed to the consequences of inaccurate human actions. Mistaken deletion of necessary files or folders clearly ranks first in the list of user errors. Though in most instances they can be easily dragged out of the Trash can located at the end of the Dock, this macOS "undelete" feature doesn't cover all cases of deletion. For instance, sometimes the items can be removed with the help of the Command-Shift-Delete or Command-Shift-Option-Delete shortcuts, the "Delete Immediately" option from the Finder file menu, not to mention the situation when the Trash has been eventually emptied, either automatically or by the user command. The good news is that, even under such circumstances, it may be still possible to recover deleted files. Just follow the right path and get them back before they are gone for good.
How to restore deleted files from Time Machine backup
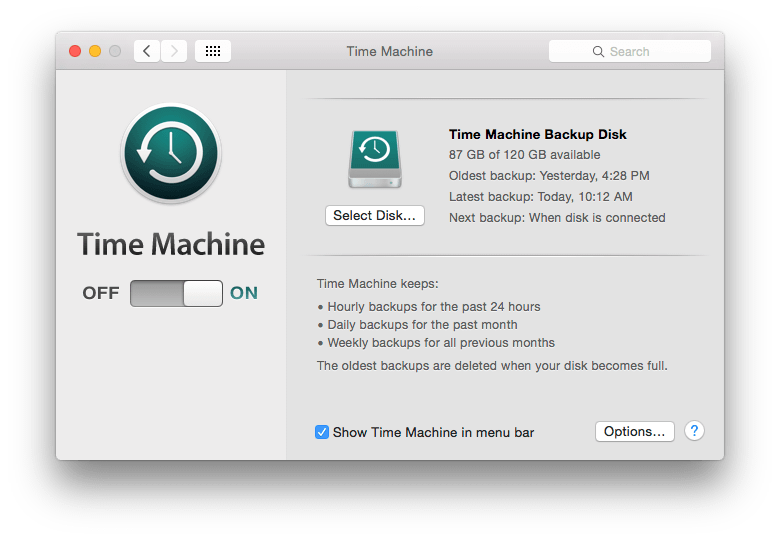
Time Machine is a built-in backup feature of macOS. Once configured, it automatically creates backups of Mac's internal drive to an external disk or a Time Capsule device. To find and restore the files you've mistakenly deleted, follows the steps given below:
-
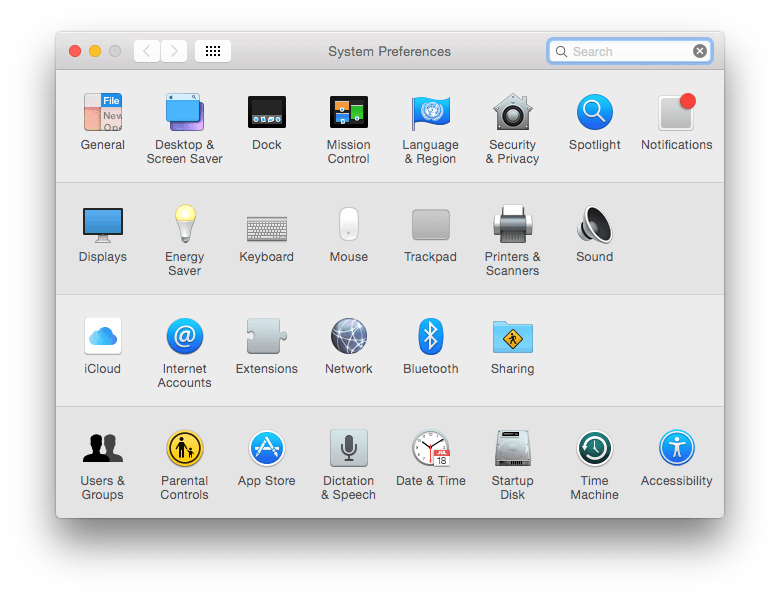
To launch Time Machine click the Time Machine icon in the menu bar and choose "Enter Time Machine". If such an icon is missing, open System Preferences, select Time Machine and tick "Show Time Machine in menu bar".
-
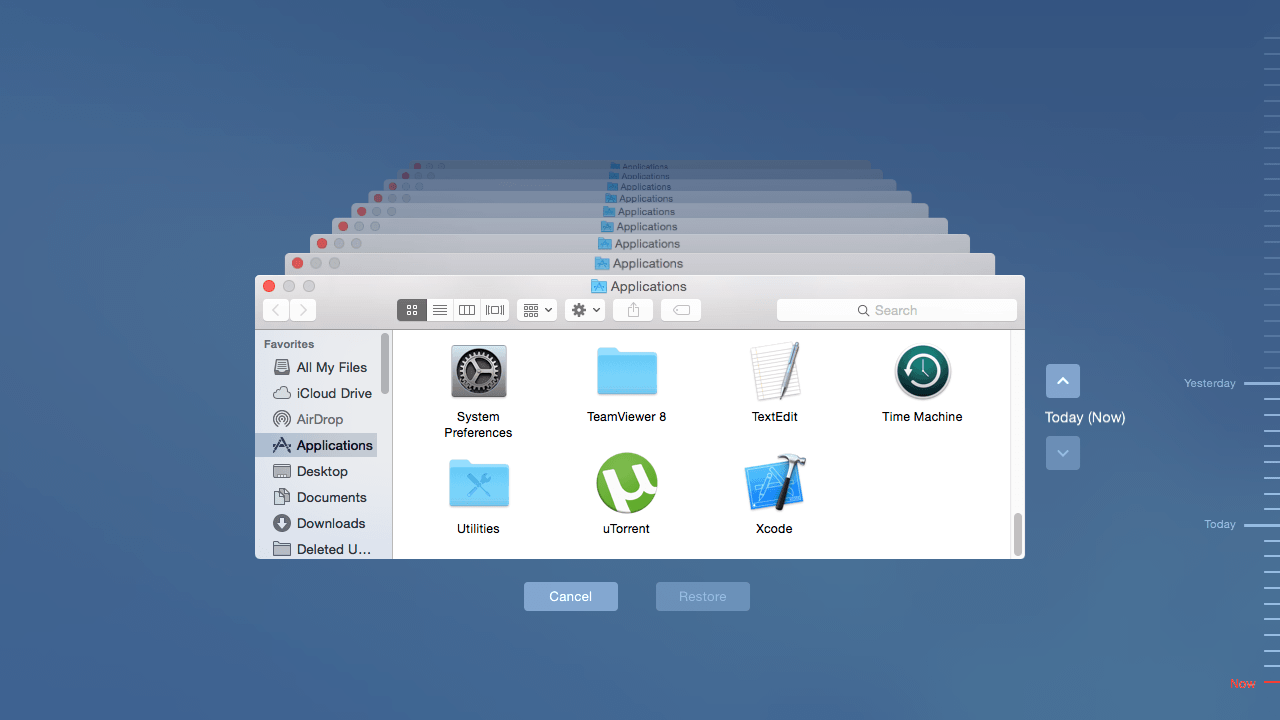
Find the file you want to recover in the Time Machine folder. Use the up/down arrow keys to navigate through time and the Space Bar to preview items.
-
Select the required file and click "Restore".
However, the main disadvantage of this method is that Time Machine can restore deleted files only on condition that a timely backup has been made. Moreover, this utility won't help you to recover deleted files from an external hard drive, USB flash drive or a memory card.
How to restore deleted files on a Mac using a recovery program
At present, macOS applies three types of file systems: HFS+ is used on older Macs up to macOS 10.12 Sierra, APFS – on modern ones with macOS 10.13 High Sierra and later while FAT32/exFAT can be found on portable devices. Although each of them employs different deletion algorithms described in Peculiarities of data recovery depending on the OS, in most cases, files deleted from macOS do not get immediately erased from the hard disk. Only the information describing them is partially destroyed by the system while the actual data remains intact. Still, the space occupied by a file gets marked as available for new data, which may be generated either by the user or by the system.
In general, files deleted from a Mac remain recoverable, with only a few exceptions:
-
It is possible to recover deleted files from a data storage (no matter its type) only before they get overwritten with some other information. For this reason, it is highly recommended to stop all operations with the storage medium from which the data has been deleted and immediately start recovering files.
-
If the files were deleted from a Macintosh SSD, they are usually beyond recovery due to the TRIM command that is enabled by default on these drives. This command wipes the content of the deleted files as part of the system disk management routine. However, the copy-on-write feature employed by APFS may make the situation a little bit less hopeless.
-
Modern Mac computers that rely on custom Apple Silicon (M1 and later) or T2 security chips use special hardware keys to encrypt the content of the system drive (so-called hardware-based encryption). Unfortunately, this type of encryption prevents data recovery software from accessing the internal drive and, thus, restoring the information lost from it. That being said, on such machines, you can still install and use a data recovery program to restore files deleted from external digital media. If you are not sure whether your Mac employs one of these chips, please, refer to Unblocking access to macOS drives.
-
In case the volume you've deleted files from was encrypted on the software level (by APFS or FileVault 2) and the decryption password got lost or the area on the drive containing critical encryption metadata became severely corrupted, it becomes impossible to unblock and access it for data recovery.
-
Files destroyed with the help of shredding software cannot be recovered as they get zeroed out or overwritten with some random data.
In other cases, SysDev Laboratories recommends UFS Explorer Standard Recovery and other UFS Explorer and Recovery Explorer products as effective solutions capable of analyzing the APFS, HFS+ and FAT32/exFAT file systems and restoring files present on both simple and spanned Apple volumes before the deletion was performed.
Note: Recovery of files deleted from more advanced storages, like Fusion Drive, disks encrypted with FileVault or encrypted APFS volumes can be handled by UFS Explorer Professional Recovery and is described in separate guides.
-
If the files were deleted from Mac's system partition, it is strongly recommended to remove the drive and connect it to another computer as a secondary device. If the data was lost from a non-system partition, the data recovery procedure can be performed on the same Mac.
Note: In case the files were deleted from the system startup drive in macOS 10.13 High Sierra and later and despite the recommendations you are not willing to take the disk out, to allow the program to read this storage, you have to disable System Integrity Protection as demonstrated in Unblocking access to macOS drives.
-
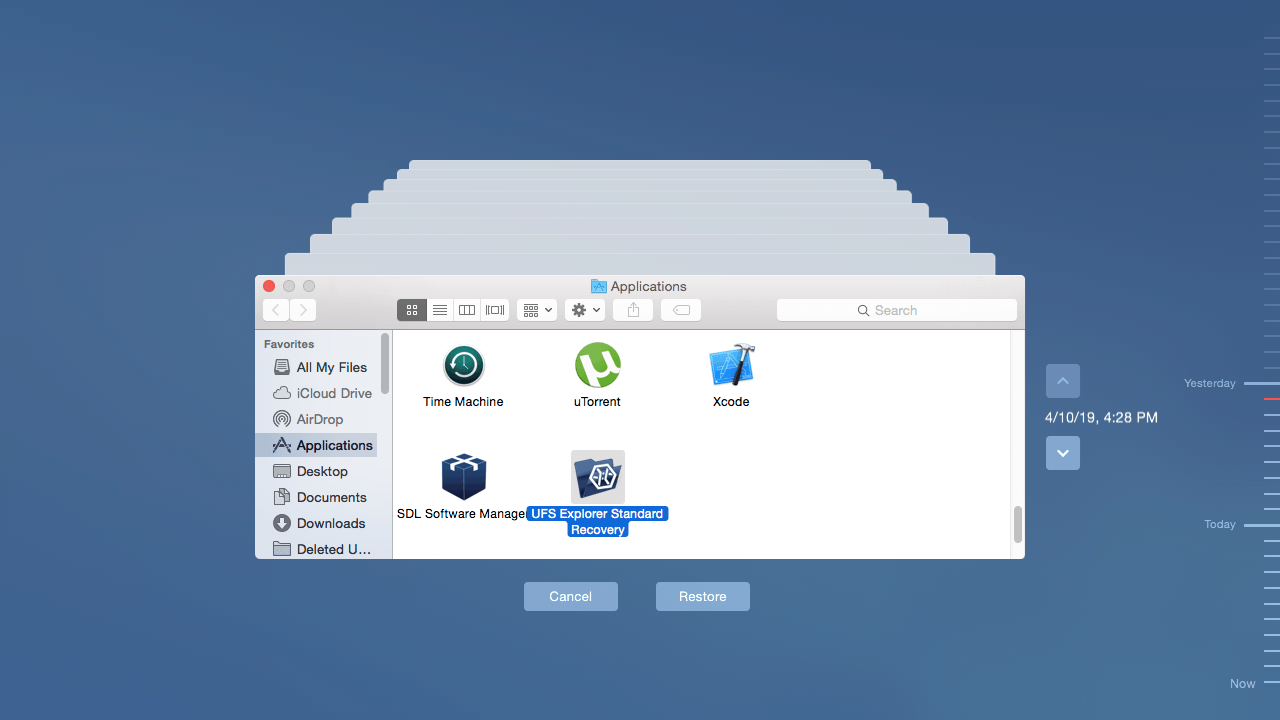
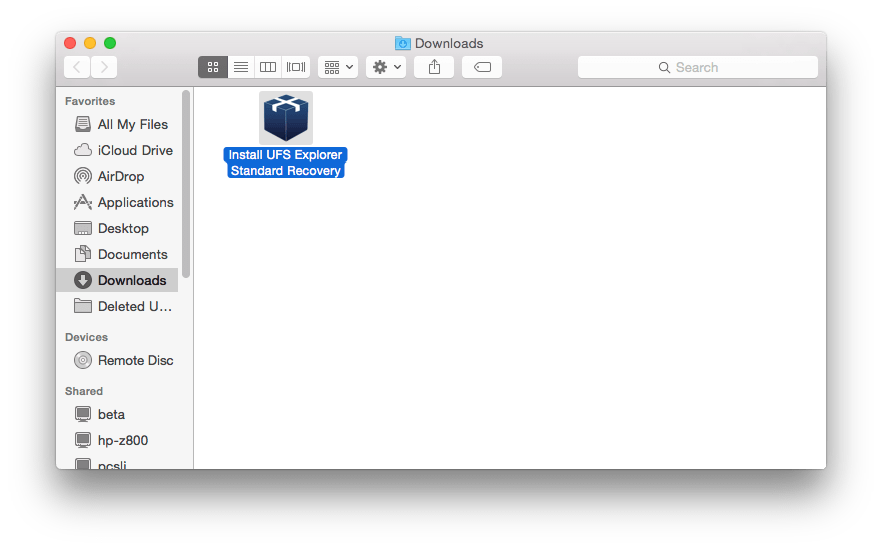
Download the compressed DMG file of UFS Explorer Standard Recovery choosing the "Download for macOS" option and open it in Finder. Please, don't download it to the partition the deleted data should be restored from to avoid its overwriting.
Hint: If you have any difficulties with the installation of the utility, please refer to the installation manual for UFS Explorer Standard Recovery.
-
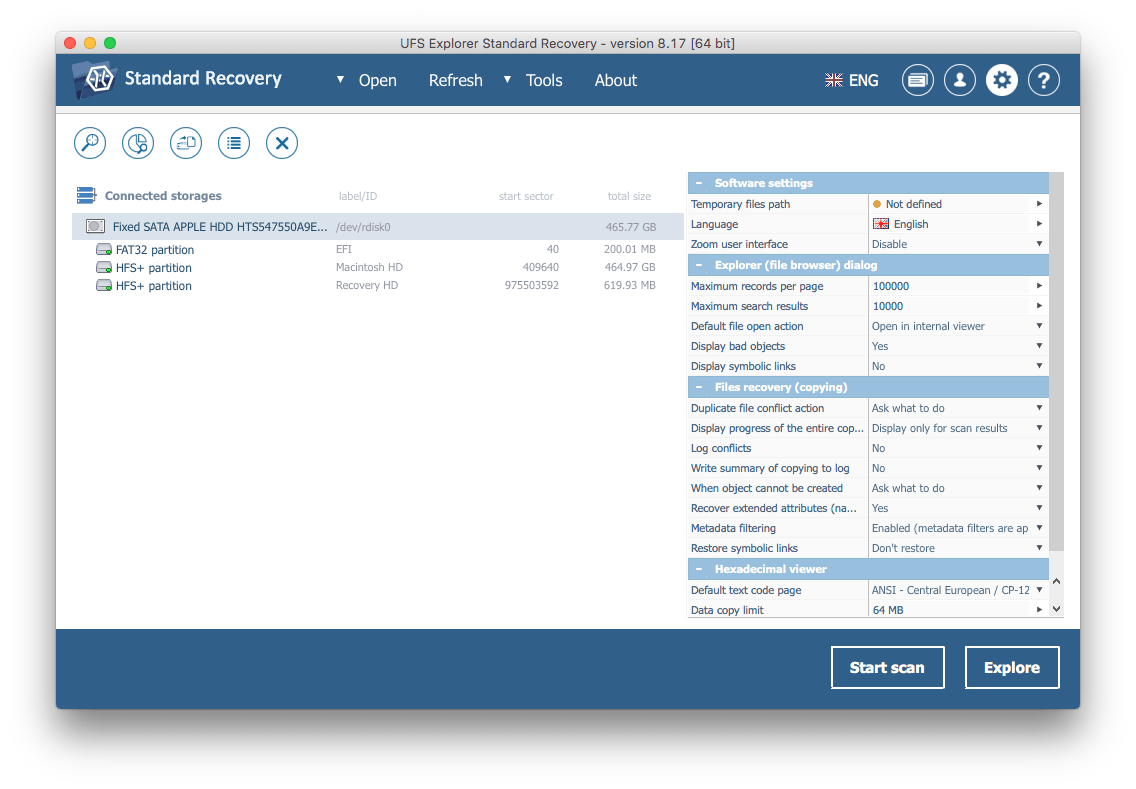
Run the program with elevated privileges as described in Unblocking access to macOS drives and if necessary, modify the software settings available in the settings pane.
-
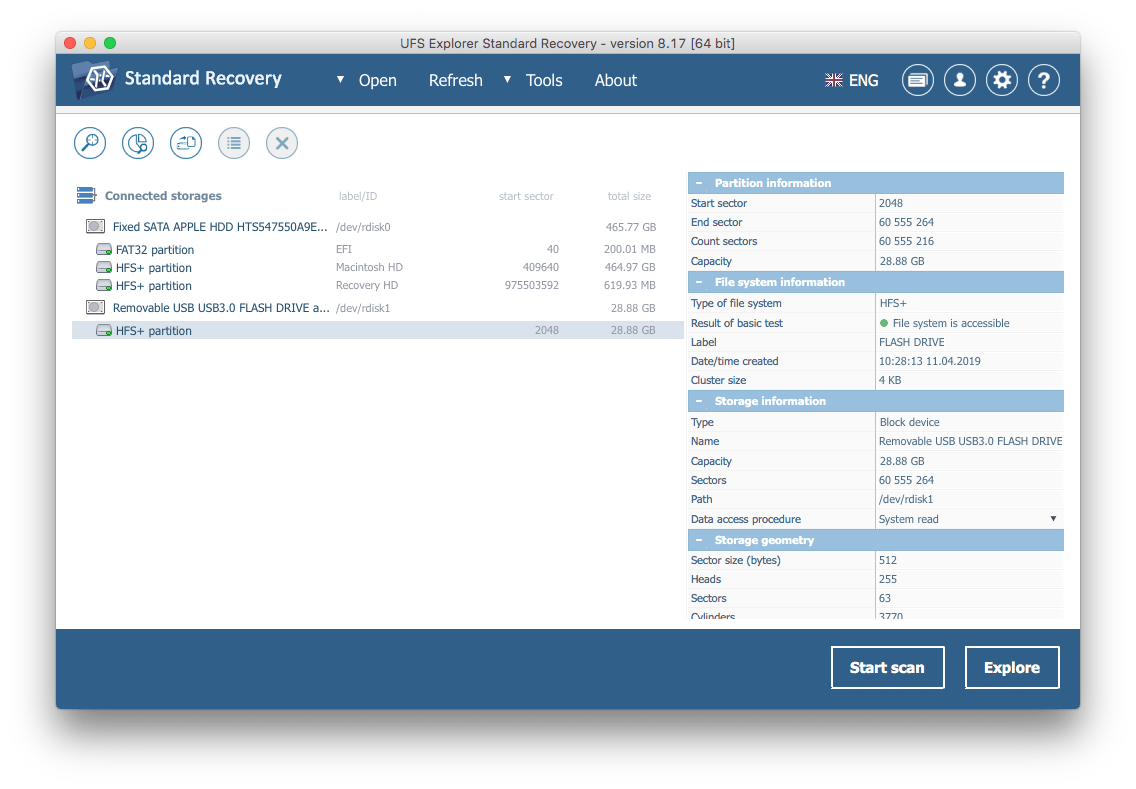
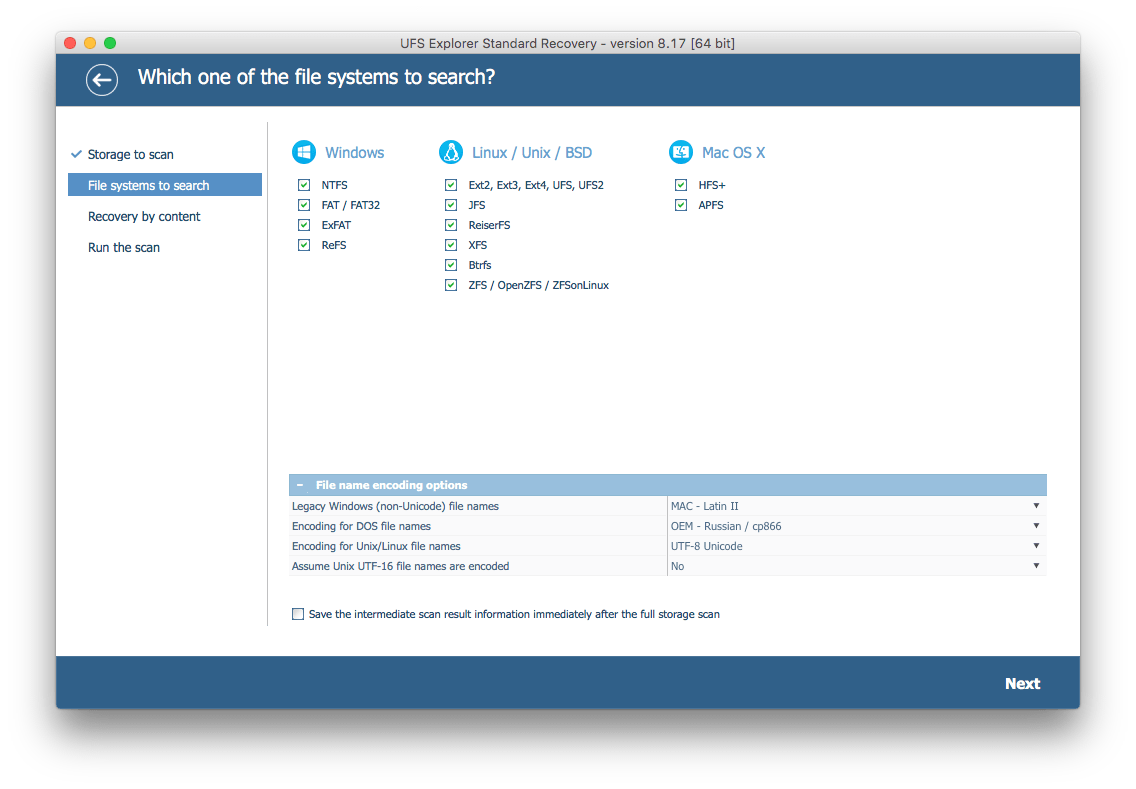
UFS Explorer Standard Recovery automatically detects partitions available on a device and displays them in the left pane of the main window. Choose the needed HFS+, APFS, FAT32 or exFAT partition from the list and scan it for lost data using the "Start scan" button, the "Scan this storage" tool from the toolbar or the corresponding storage context menu option.
-
Define the desired scan parameters. If you want the process to be completed faster, you may deselect all file systems except the one applied on your partition and disable IntelliRAW. After that, click "Start scan" and wait until the process is accomplished.
Hint: More information about configuring the scan can be found in the instruction on scanning a drive with UFS Explorer.
-
Check the found files and folders. They can be sorted by name, date, type or previewed in the internal viewer. Quick and advanced search options can also be used to find specific files.
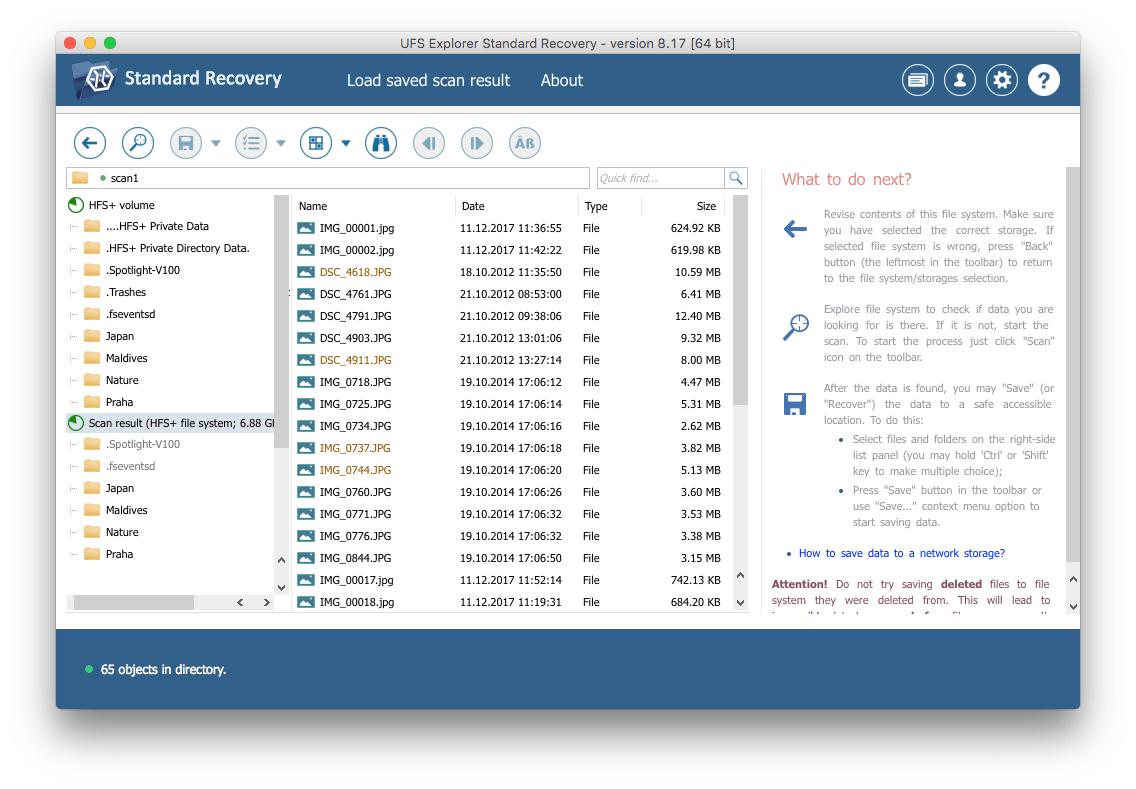
Hint: The instructions provided in the article Evaluation and saving the results of data recovery may facilitate your work with the obtained folders and files.
-
Press the "Define selection" button, select the files and folders you want to recover and press "Save (recover) selection". Don't save the files to the storage from which they are being recovered, as it can provoke their full or partial overwriting without the possibility to restore them later.
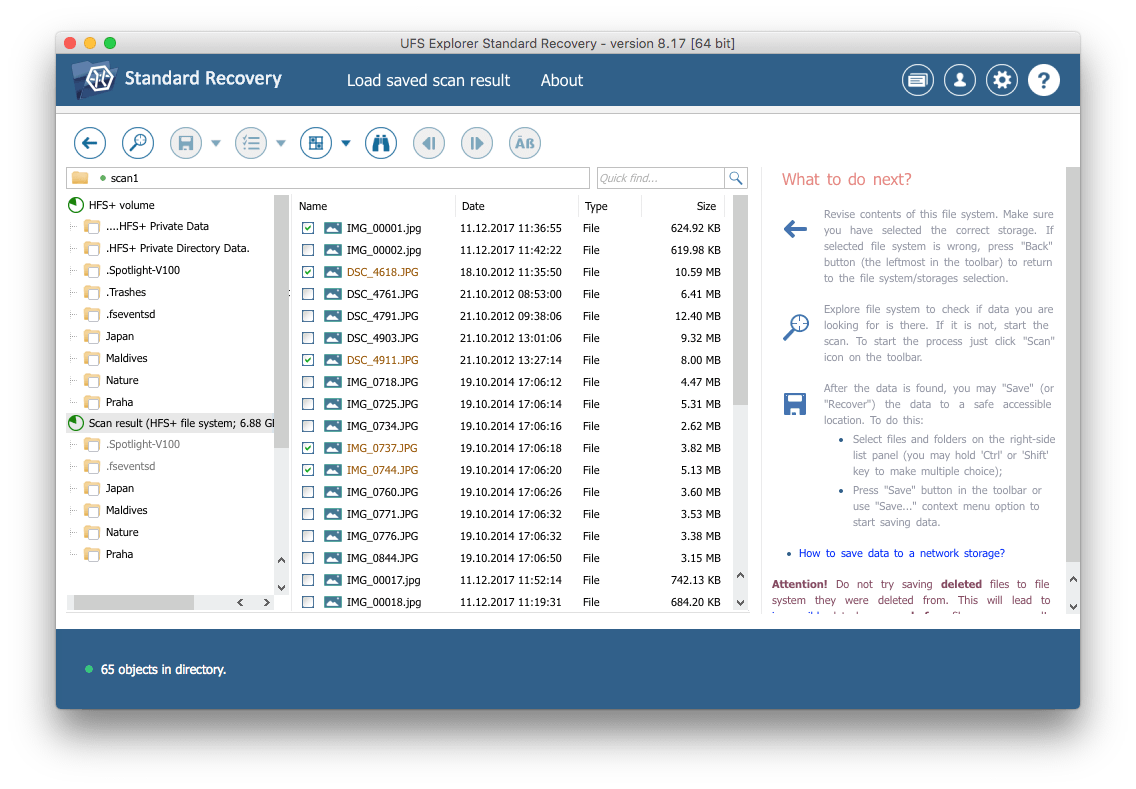
Hint: If you are going to save the recovered data to a network storage, please check the provided instruction.
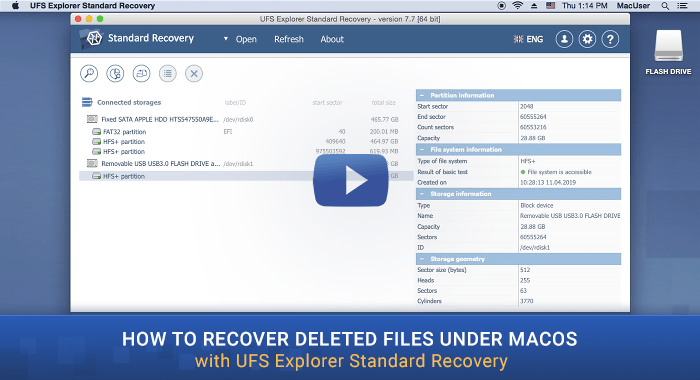
The following video guide demonstrates the overall process step by step:
Note: If the data was lost from the system partition and there is no possibility to extract the disk and attach it to another computer, you can boot the Mac using UFS Explorer Backup and Emergency Recovery CD for safe data recovery. For more details, please, refer to Data recovery from a system partition.
Last update: June 18, 2024