Can I restore deleted files?
More often than not, a deleted file is sent to a temporary storage which keeps them for a certain period and gets emptied automatically after its expiration. Yet, in some cases, users delete files with the help of the command line, the Shift+Delete shortcut or using some third party applications. These methods are meant to remove them from a hard drive without sending to some temporary location. But even if it is not possible to undelete files using standard means of the operating system, it still doesn’t necessarily mean that they are permanently destroyed. This article will give you an idea about the recovery of deleted files, how it is possible and which factors may prevent successful undeletion.
As a general rule, when a file gets deleted, the operating system makes a note that it is no longer needed. The space occupied by it becomes available for use. Although each OS has certain specifics with regard to this process described in Peculiarities of data recovery depending on the OS, the data itself usually remains present on the disk. Until some other information is written over it, one can restore a deleted file with the help of a specialized utility.
To be able to recover deleted files from your hard drive, SD card, flash drive or any other external storage medium, first and foremost, stop writing data to this very storage. In case of an internal disk of a PC or Mac, data recovery should be started as soon as possible. That’s because even operations like system boot, software installation, documents editing, video streaming, etc. may cause the overwriting of files.
Among other factors you should consider when trying to undelete files are:
Type of storage
Newer NAND flash-based Solid State Drives support TRIM. This is a special command invoked by the OS each time the user deletes a file. Its purpose is to notify the SSD that certain blocks of data are no longer in use. The memory cells occupied by them are wiped to get ready for being filled in later. Most operating systems are set to activate this feature by default when they detect that a volume is mounted on an SSD. TRIM makes SSDs much faster and contributes to their longer life, but, at the same time, makes it practically impossible to restore deleted files from an SSD with enabled TRIM. The only possibility is to use that short period when the operation is deferred until the drive gets idle.
Type of volume
If the files to be recovered were stored in some directory of the computer’s system partition, for example, on the Desktop or in User Documents, the computer should be turned off at earliest possible time. The reason for this is that the operating system may utilize the “released” storage space for its own needs, overwriting the deleted files and thus permanently destroying them. After that, the disk should be extracted from the computer and attached to another machine as a secondary storage. As an alternative, the same PC may be booted in a safe environment with the help of a removable device with a preinstalled bootable OS. This excludes the background writing of system files to the problem volume.
Type of deleted data
Large files, especially the ones created gradually, are very likely to be stored inconsistently on a drive – this issue is referred to as fragmentation. Fragmentation significantly diminishes the chances for complete recovery of deleted files. The probability is usually inversely proportional to the number of fragments a file is broken into. Files of certain types, like images or videos, in some cases can be still opened and partially viewed even if a fragment is missing. But usually, most files become corrupted and thus useless.
Among all the methods intended to recover deleted files from a digital storage, SysDev Laboratories recommends UFS Explorer software as an optimal solution for dealing with such cases of data loss. The product range includes utilities for work with a great variety of storage devices, from common storage media to complex RAID, each featuring a combination of a powerful scan engine and sophisticated data recovery techniques. Also, UFS Explorer Backup and Emergency Recovery CD may serve as a safe environment for cases of emergency data recovery, when there is a high risk of data overwriting.
The programs restore deleted files of all types, including:
- photos
- videos
- documents
- emails
- and many others;
as well as from each of the popular operating systems:
- Windows
- macOS
- Linux
- Unix, Solaris, BSD.
This general algorithm will help you to carry out the procedure and recover accidentally deleted files with ease. Yet, work under certain operating systems may have its peculiarities that are described in the articles devoted particularly to data recovery from Windows, macOS, Linux and Unix, Solaris, BSD.
-
Download and install UFS Explorer to the partition other than the one holding deleted files you are going to recover. Make sure that the downloaded version of the program corresponds to the operating system platform it will be run on.
Hint: If you have any difficulties with the installation of the utility, please refer to the installation manual for UFS Explorer.
-
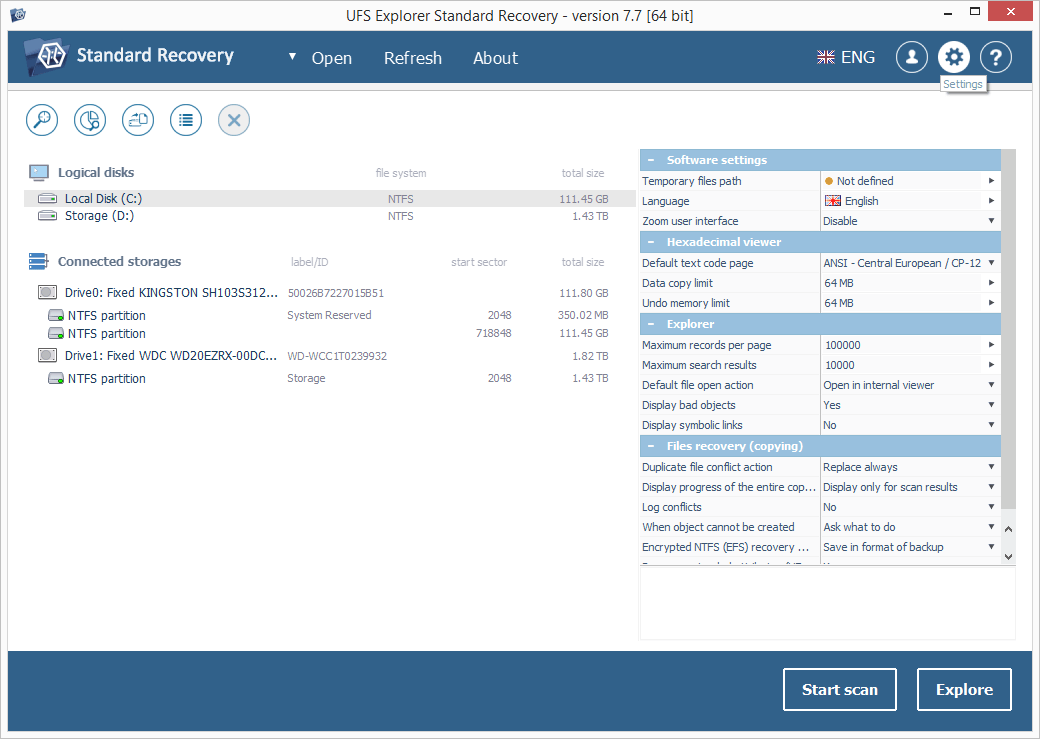
Run the application and adjust the software settings in the settings sheet, if needed.
-
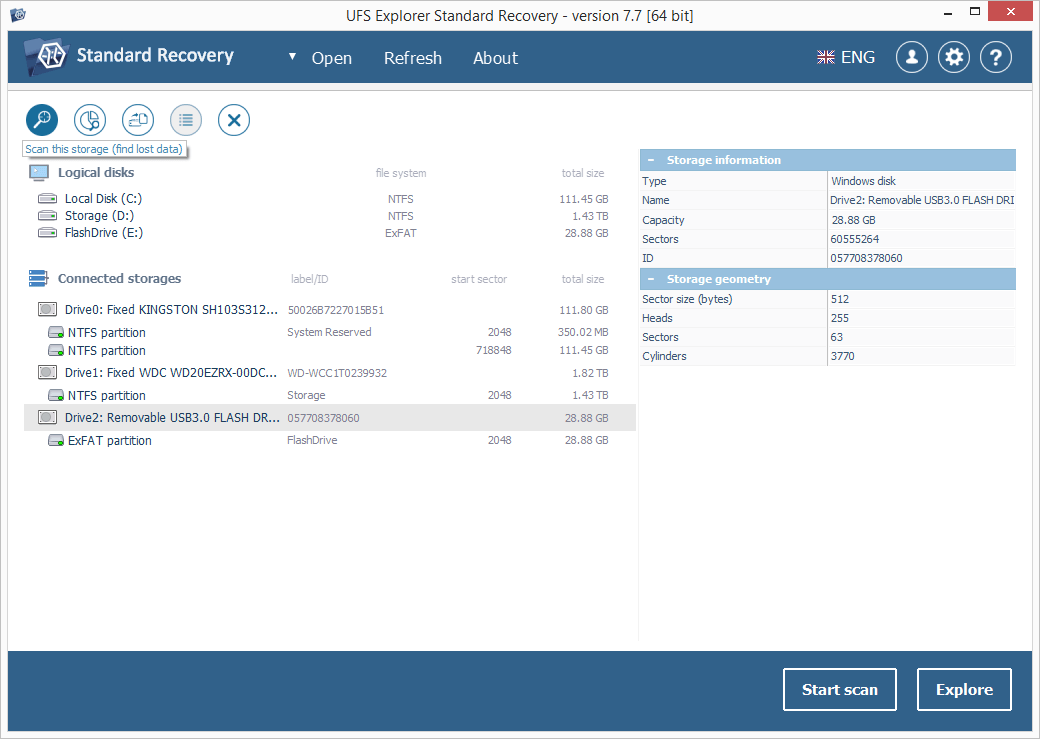
Connect the storage device which contains the deleted data you need to get back. You may choose any type of direct connection valid for your device type.
Hint: Please rely on the instructions if you need to plug an internal hard disk drive into the motherboard or сonnect the HDD externally using a USB to SATA/IDE adapter.
-
Select the problem device or a logical volume in the list of connected storages in the left pane of UFS Explorer and scan it for lost data using the corresponding button or the storage context menu option.
-
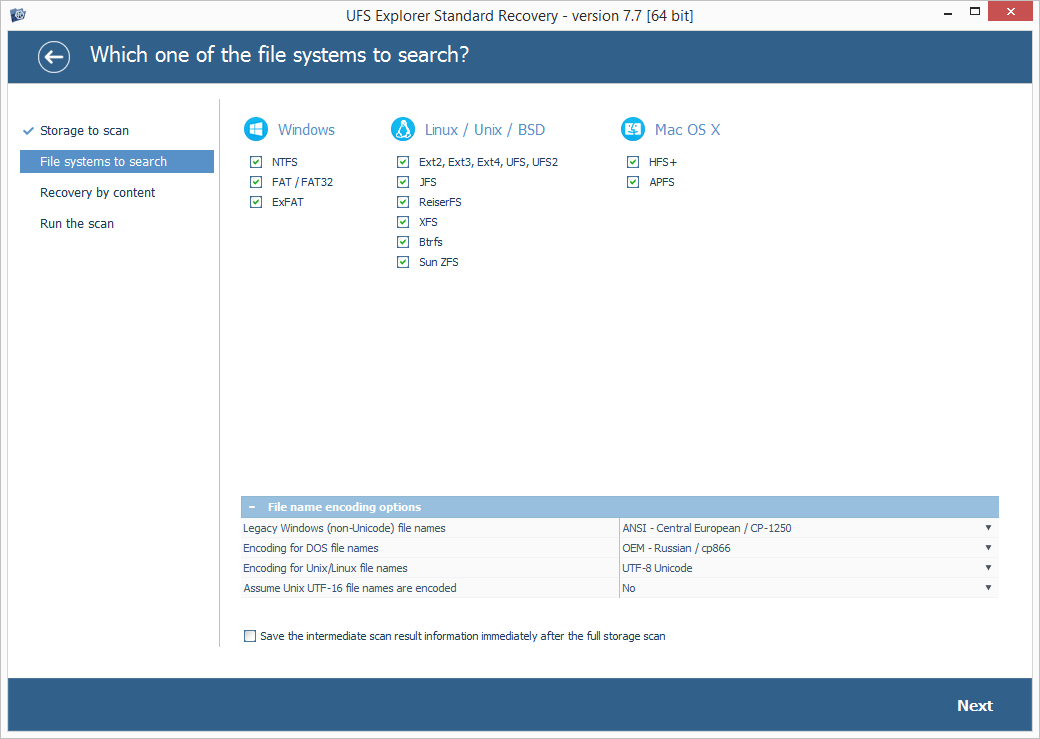
Set up the needed scan parameters. You may disable InelliRAW if you want the process to be completed faster. Press the “Start scan” button and wait for the results.
Hint: More information as to adjusting the procedure can be found in the instruction on scanning a drive with UFS Explorer.
-
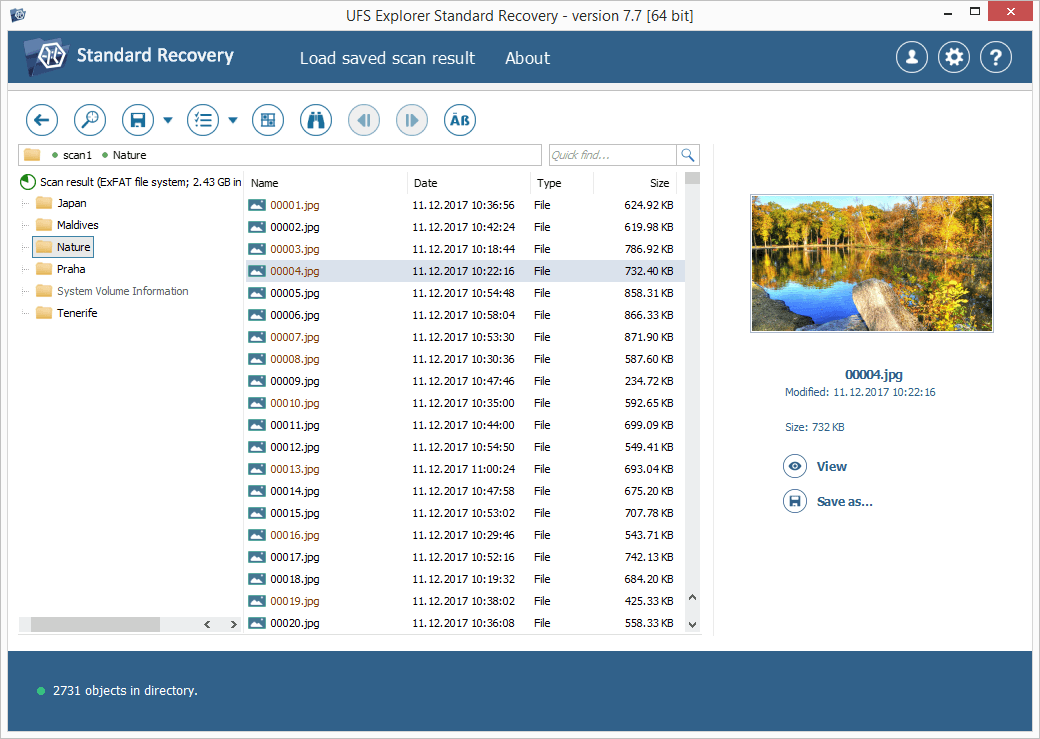
Browse the files found by the program and select the ones you want to recover. You may sort them by name, date, type, use the quick and advanced search options as well as preview them in the internal viewer.
-
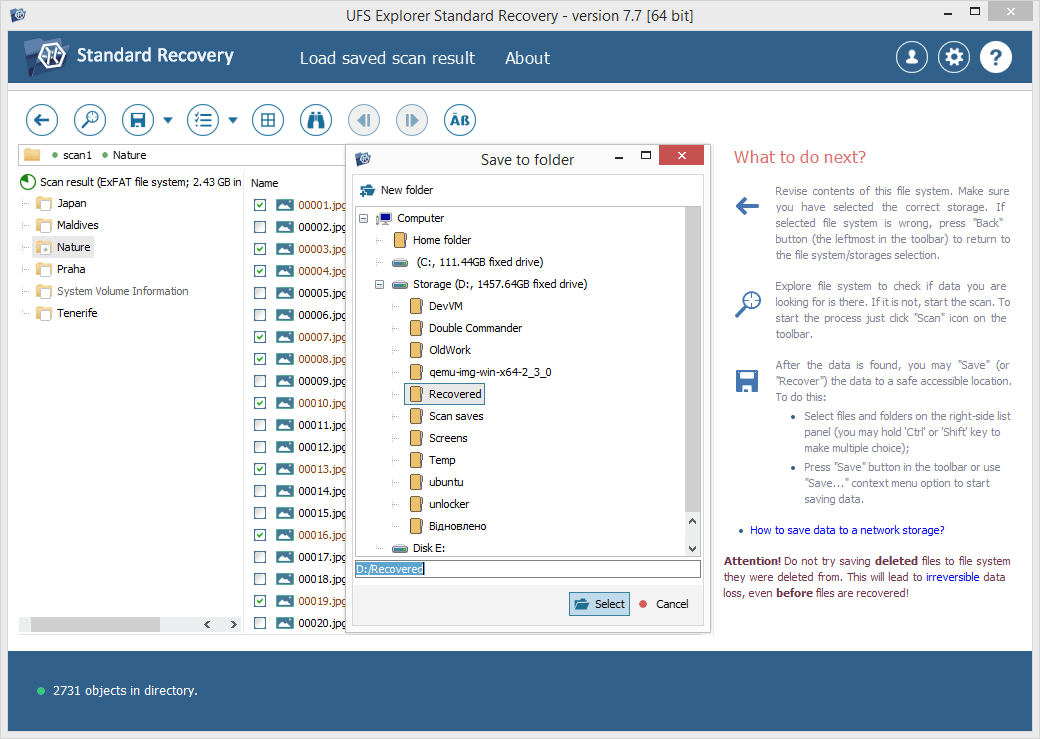
Save the selected files to a spare drive, external storage or a network location. The target storage must be other than the disk from which the deleted data is being recovered.
Hint: If you are going to save the recovered data to a network storage, please check the provided guide.
Other details will depend on the operating system you use, type of the device or, in some cases, on the employed storage technology. They are presented in the corresponding articles that can be found in the Data recovery solutions and How to recover data sections.
Last update: August 09, 2022