How can I extract files from a virtual machine without running it?
Since the advent of virtual machines, this technology remains tremendously popular and utilized by both IT professionals and average home users for a variety of tasks when simultaneous operation of multiple isolated OS environments on a single host system is required. Still, although it allows avoiding the purchase of several physical computers and the complexity of dual booting, its employment is not always as smooth as we’d like it to be: crashes and other issues may result in instant inaccessibility of important user files.
Each virtual machine is an individual operating system installation relying on its own container to store files: VMware uses Virtual Disks (VMDK), Microsoft products like Hyper-V employ Virtual Hard Disks (VHD, VHDX), etc. By default, the host computer and other VMs don’t have access to its file system, in order to open the contents of a virtual hard disk the user needs to boot into the corresponding virtual OS. However, if a VM has failed or cannot be powered for some reason, critical data saved in it becomes out of reach. Fortunately, it is possible to find the files and copy them using a reliable piece of software.
Copy files from an inaccessible virtual disk of VMware, Hyper-V
SysDev Laboratories offers UFS Explorer and Recovery Explorer products as a way out for users who urgently need to access the contents of a virtual disk when the virtual machine by which it is managed is down or cannot be run at the moment. The functionality of the programs includes support for VMs of most popular virtualization software vendors, thus, any of them will instantly open the virtual disk file and allow you to copy the data without setting up or starting the virtual system.
When the guest operating system is not running but the virtual disk is still intact, one can copy the files with the help of UFS Explorer Standard Accessby taking the following steps:
-
Download and install UFS Explorer Standard Access on a PC running Windows.
-
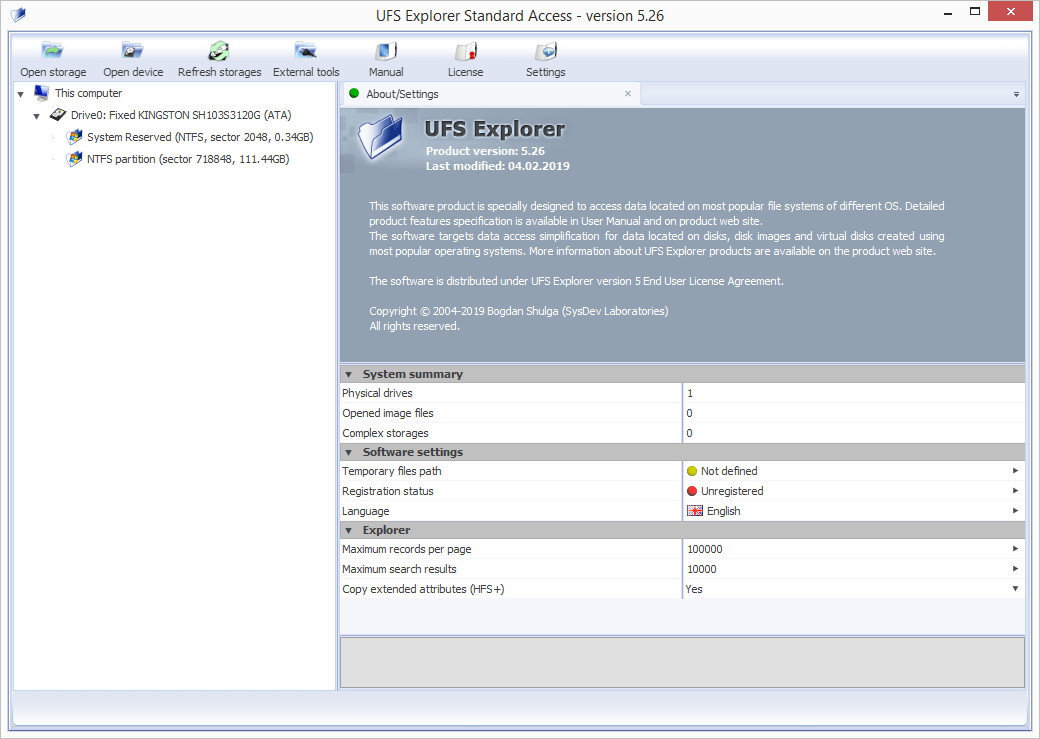
Open the program and modify its parameters in the settings tab, if you find it necessary.
-
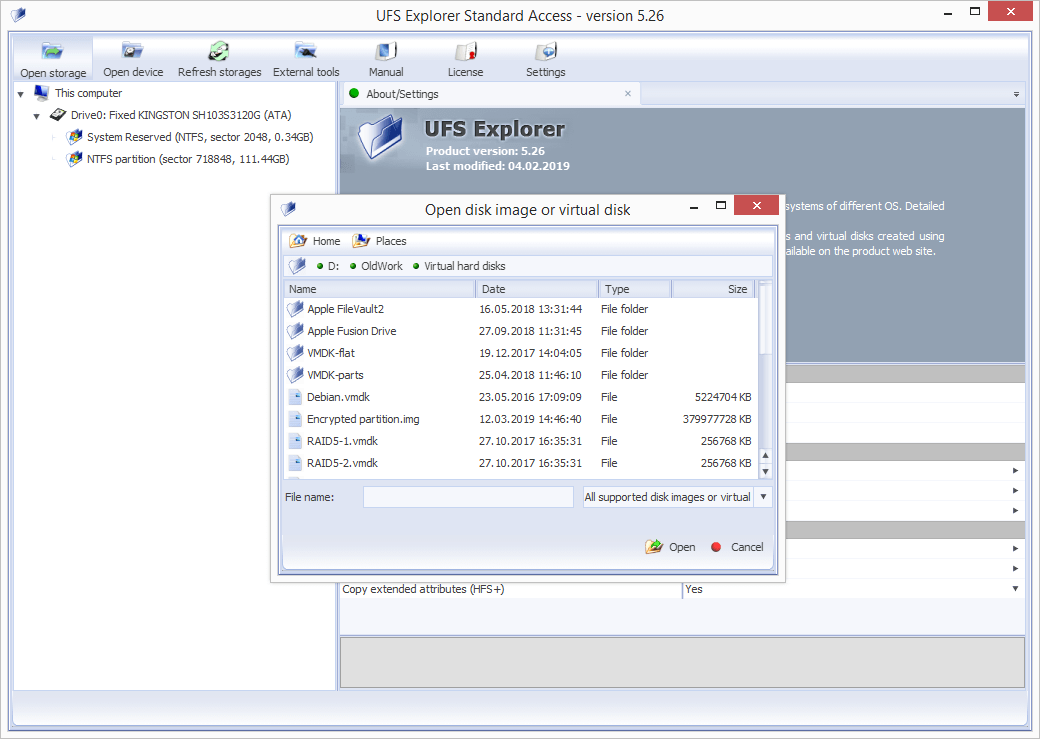
Locate the file which represents your virtual disk and open it in the software using the "Open storage" tool from the main menu.
-
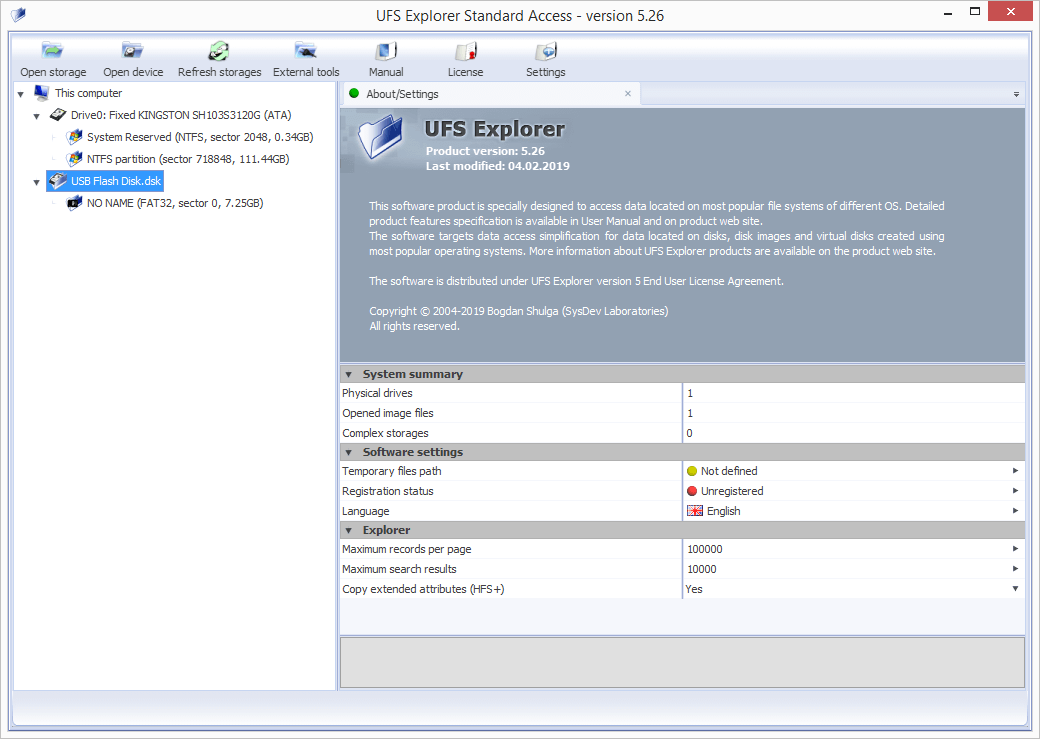
Find and select this disk under "This computer" element in the left pane of the main window.
-
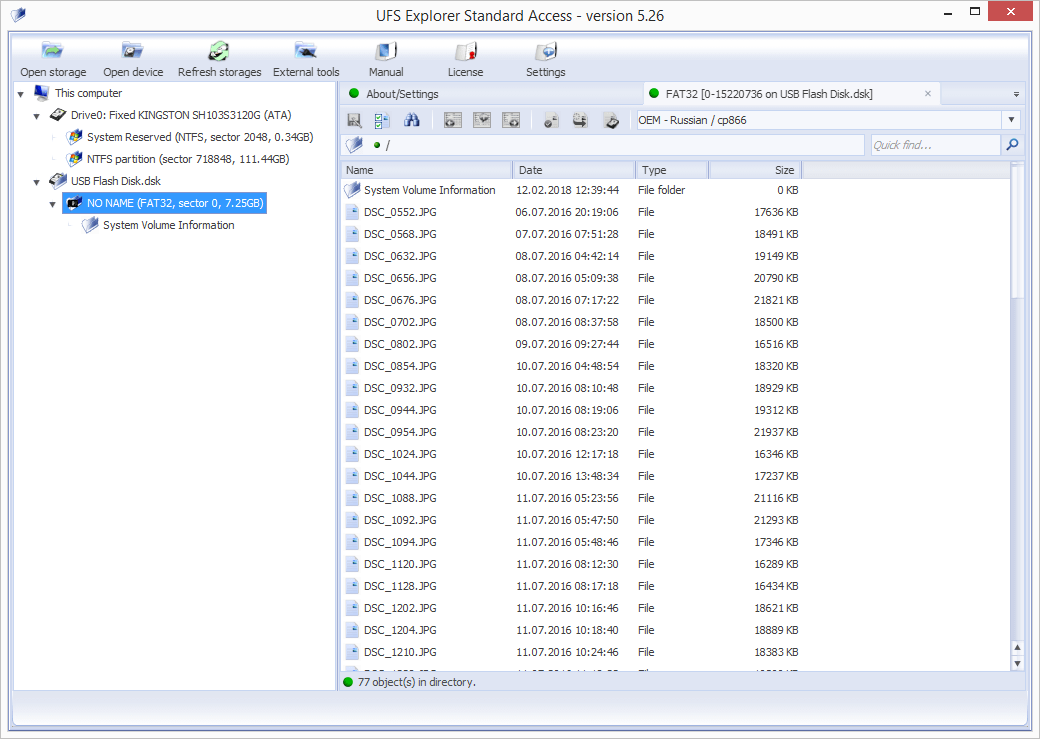
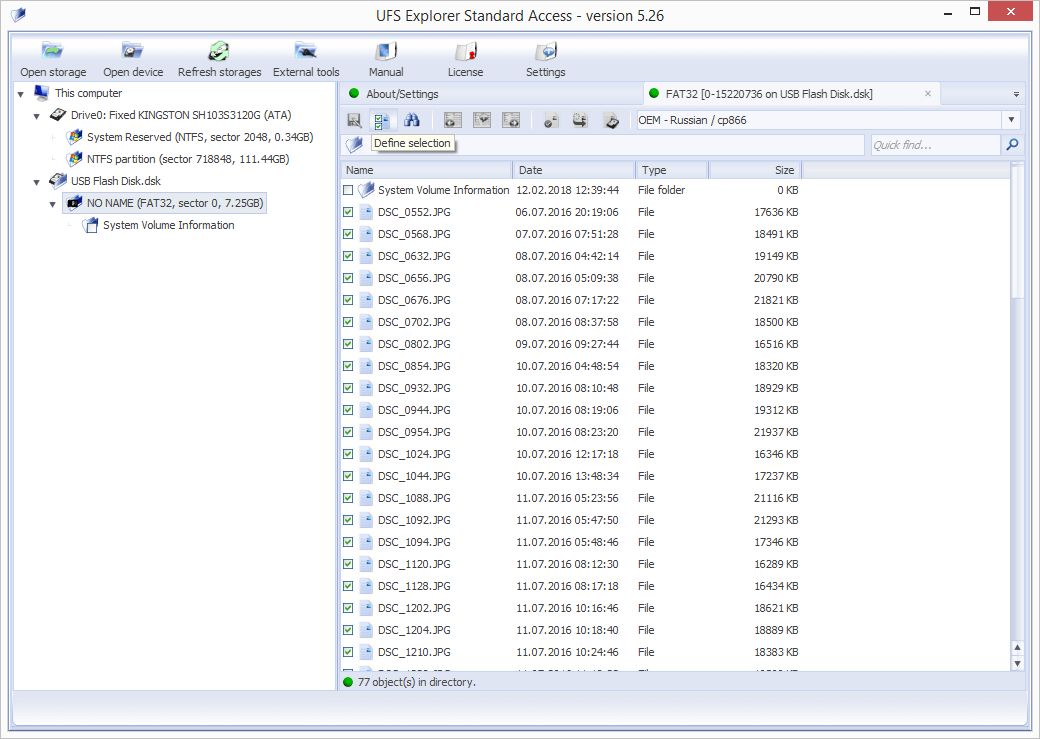
Browse through the files and folders using Explorer-like interface and find the ones you are going to copy. You may sort them by various criteria, preview them in the internal viewer or look at their properties using the "Object properties" tool. The quick search field and the advanced "Find in this folder" tool may also speed up the process.
-
Click "Define selection" and tick off all files/folders to be copied.
-
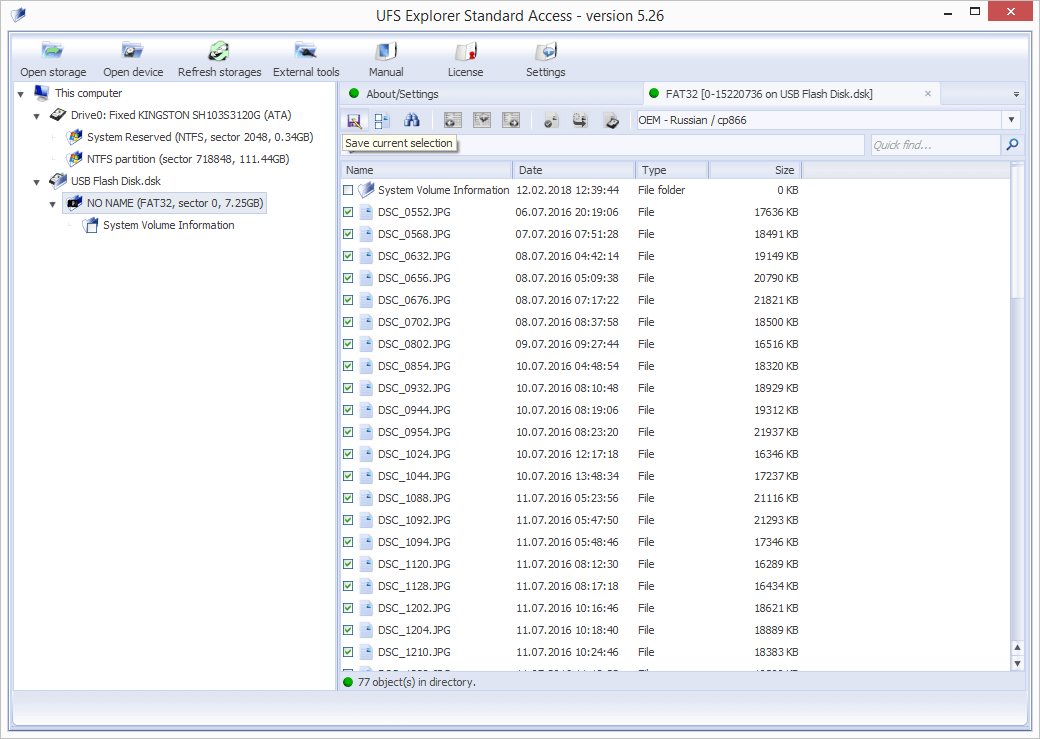
Save the files you’ve selected to the host system or any external storage with the help of the "Save current selection" tool.
Note: UFS Explorer Standard Access facilitates access to undamaged data and intact file systems. If the files were deleted or lost, opt for a data recovery tool which is applicable to your data loss case.
Last update: August 09, 2022